Gaudi's Door Knocker
This project was created for ME 102: Foundations of Product Realization at Stanford University.

Skills
Mechanism Design
Computer-aided Design
FDM 3D Printing
Timeline
Apr - May 2025
10 weeks
Overview
The origin of the classic ring-on-backplate door knocker goes as far back as the Roman Empire. The design intent for this project was to reimagine this relatively unchanged mechanism by investigating the core purpose of a door knocker: to announce your presence to another person.
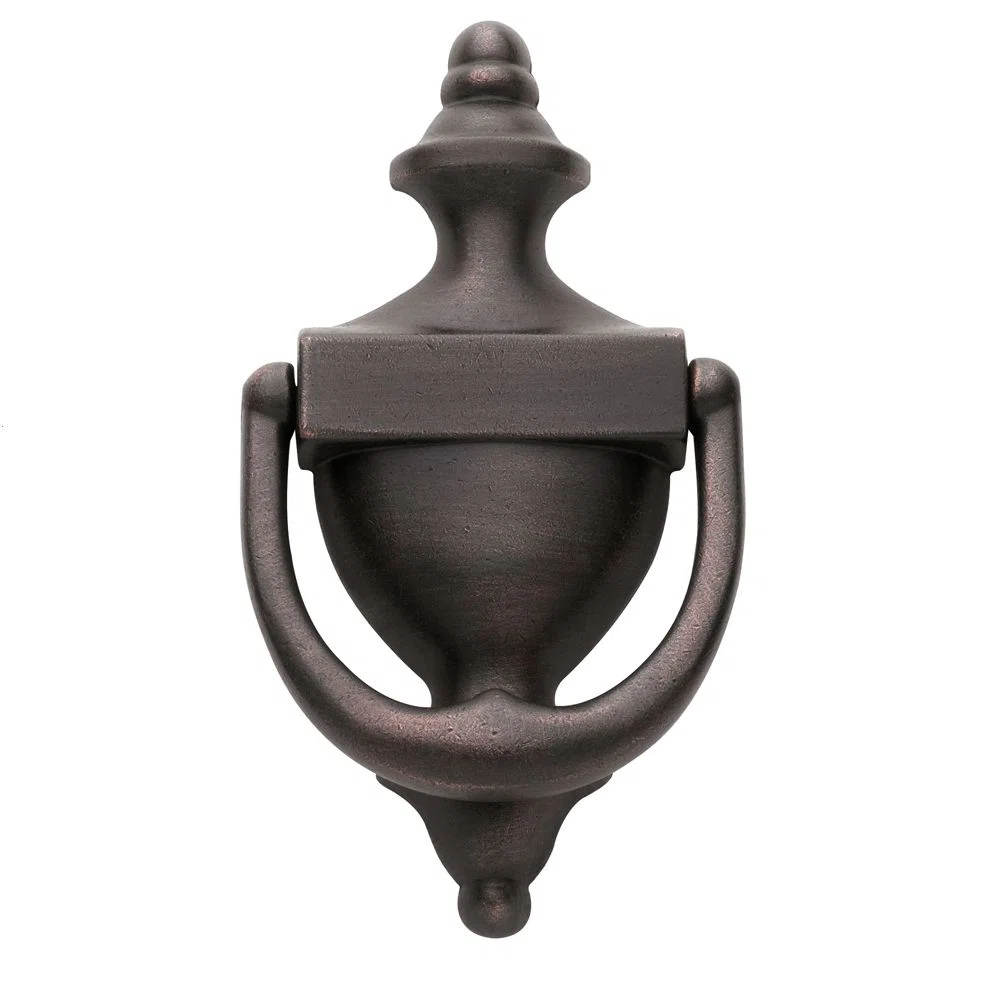
A classic ring-on-backplate door knocker design
Defining the Problem
As a team of six, we were tasked with creating a design that included:
1. A mechanical power supply.
2. An actuator.
3. Two distinct transformations of motion.
How can we meet these design requirements and reimagine the door knocker's purpose?
Sketches
We used the MEDGI (Mapping, Educing, Disrupting, Gestalting, Integrating) process to help us think through both the mechanical design, and the door knocker's purpose.
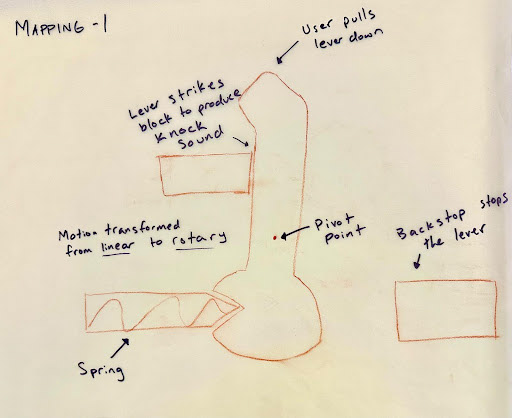
Mapping the mechanism's parts and elements.
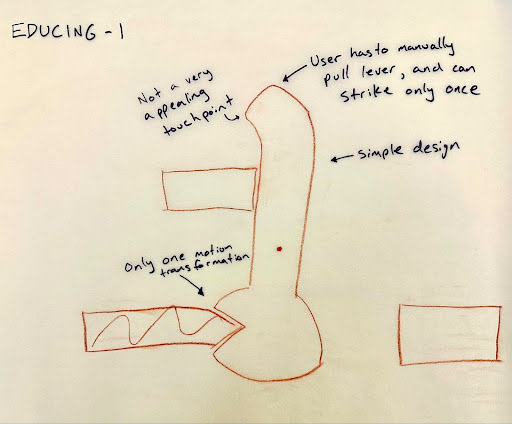
Educing: What works and what doesn't work?
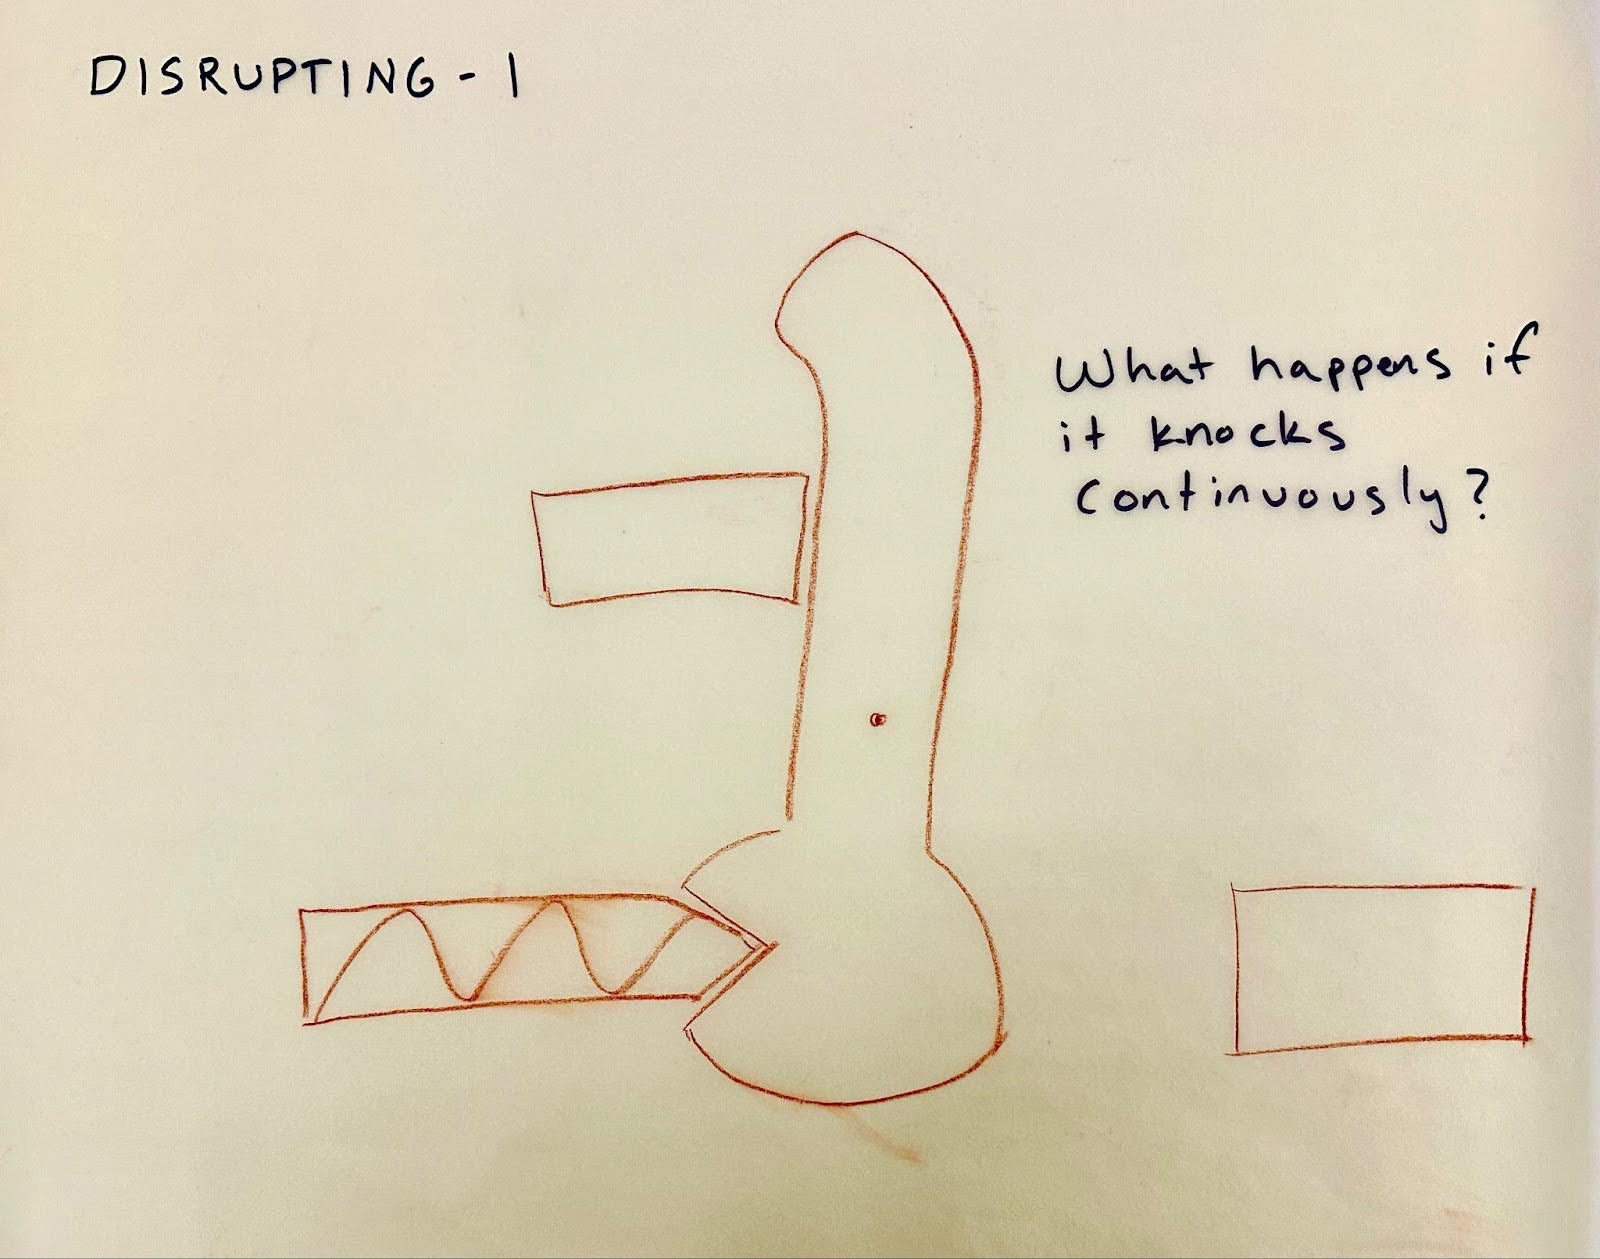
Asking a disrupting question: What happens if...?
Gestalting: Sketching the implications of the disruption

Integrating: Detailing the new iteration.
In total, we performed the MEDGI process six times, with our final iteration allowing the user to choose between two different sounds: a bell, and the screeching sound of a fork on sheet metal

CAD drawing of final iteration with floating parts.
These two options would not only allow the guest to announce their presence, but also allow them to indicate the nature of their visit—the pleasant sound of the bell would indicate a non-urgent, friendly visit, while the jarring fork-on-metal sound would indicate a pressing matter. With this iteration, we had successfully redefined the purpose of the door knocker while meeting the mechanical design requirements.
My job was to create all the drawings in CAD, and to think through each MEDGI iteration with the team.
Prototyping
Next, we made a cardboard prototype of our design with the goal of figuring out how to orient our parts in space and how to fixture all of our components. I was responsible for laser cutting each piece.
Key takeaways:
1. We would need a way to organize the components to prevent them from being too visually cluttered.
2. We would need to refine our bevel gear selection mechanism.
3. The fork-on-metal screeching sound would be too difficult to consistently replicate, so we pivoted, and replaced it with a drum and beater mechanism.
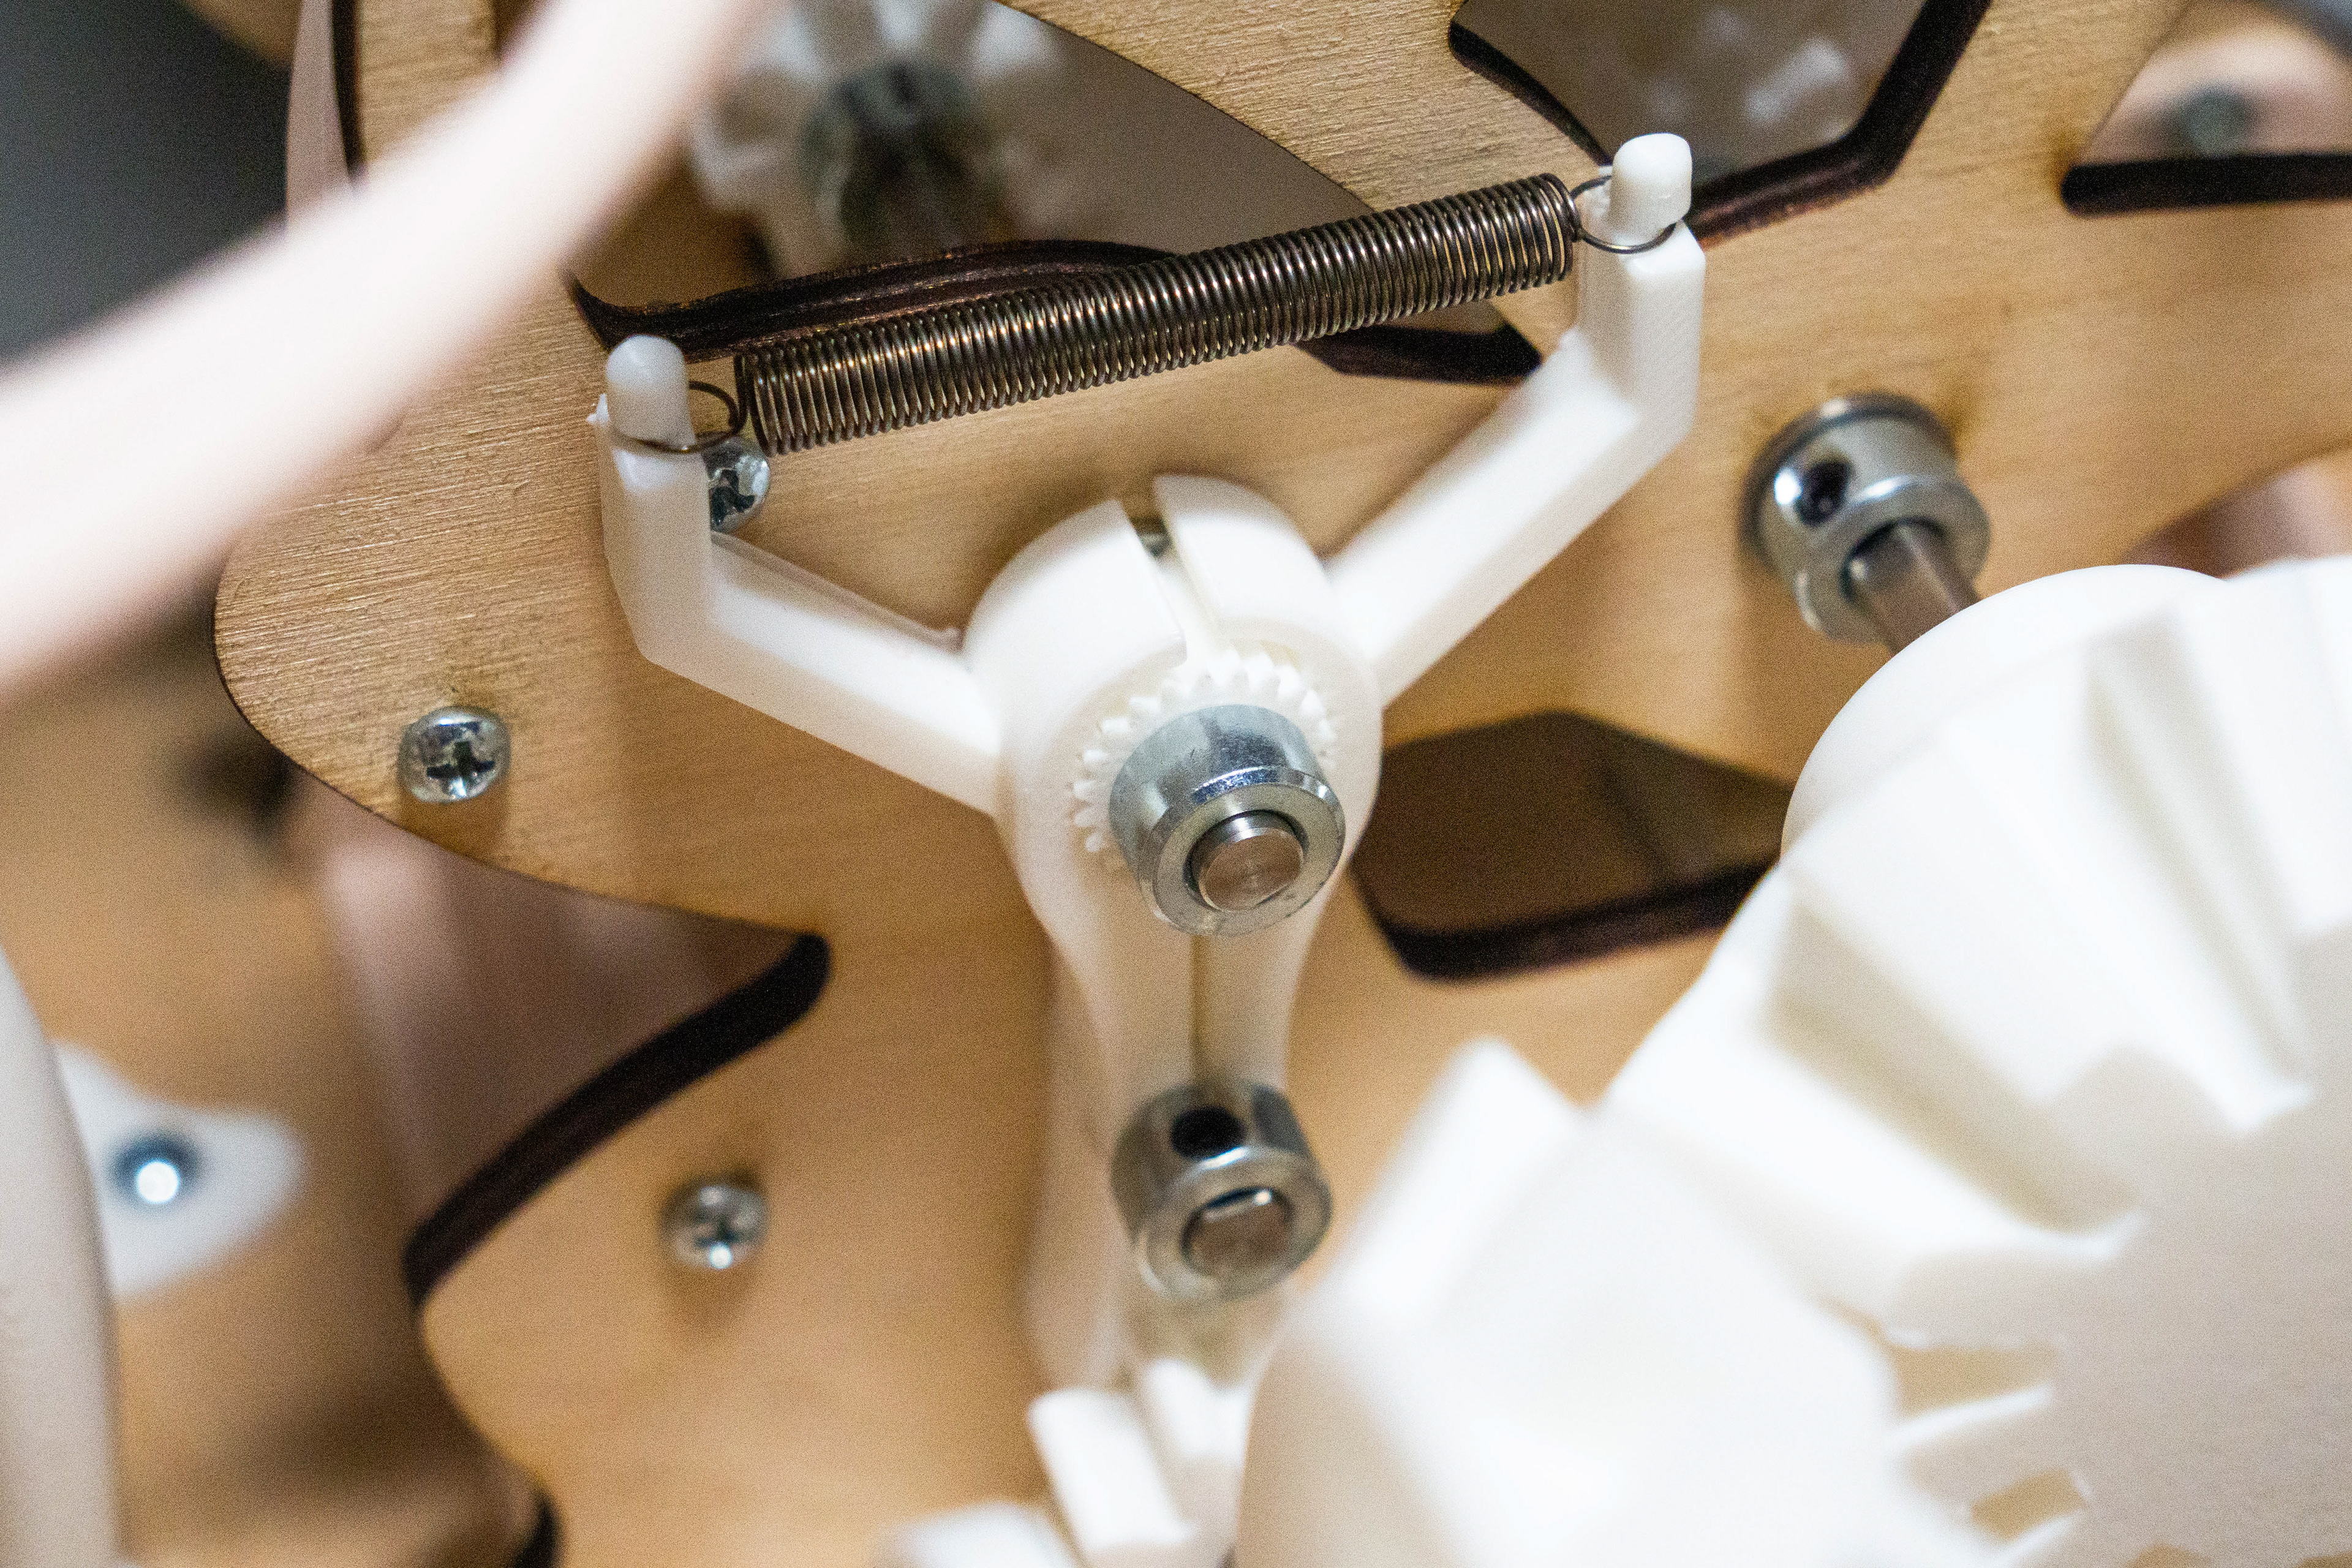
Next, we refined our bevel gear selection mechanism by using a ball and socket to control a slotted yoke, allowing the user to engage one of two output bevel gears with a central driving bevel gear:
In order to implement the drum-striking mechanism, we decided to pivot to using a spiral torsion spring as our power supply, regulated by air resistance (inspired by a wind-up music box mechanism). As the spring unwinds, it would slow the beating of the drum, ominously resembling a dying heartbeat.
Power supply and air resistance regulator design.
I designed the power supply and the bevel gear selection mechanism, while the rest of the team helped to 3D print, laser cut, and assemble the components. I then performed hand calculations which determined that without the governor, the governor gear would spin at 2856 rpm, allowing us to adjust the surface area of the governor in order to control the initial speed of the drum beat (step 3, gear F):
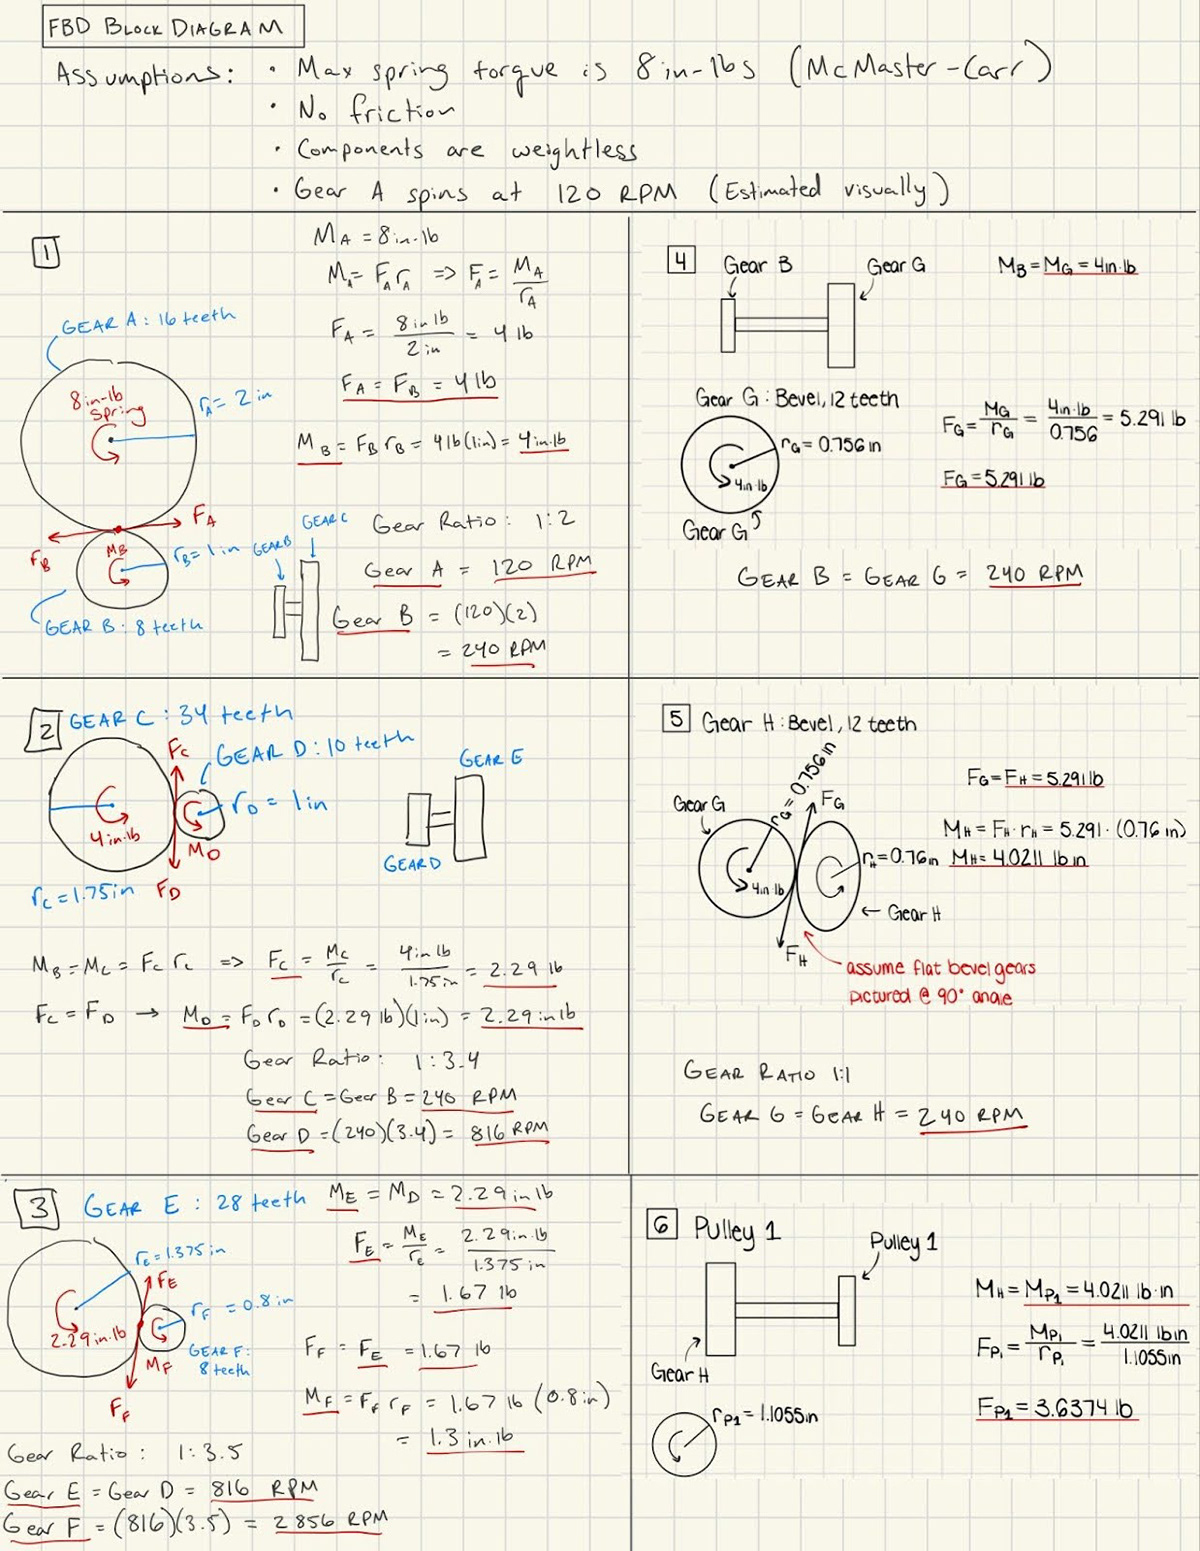
Hand calculations to determine forces, moments, and rpm at each stage of gear multiplication.
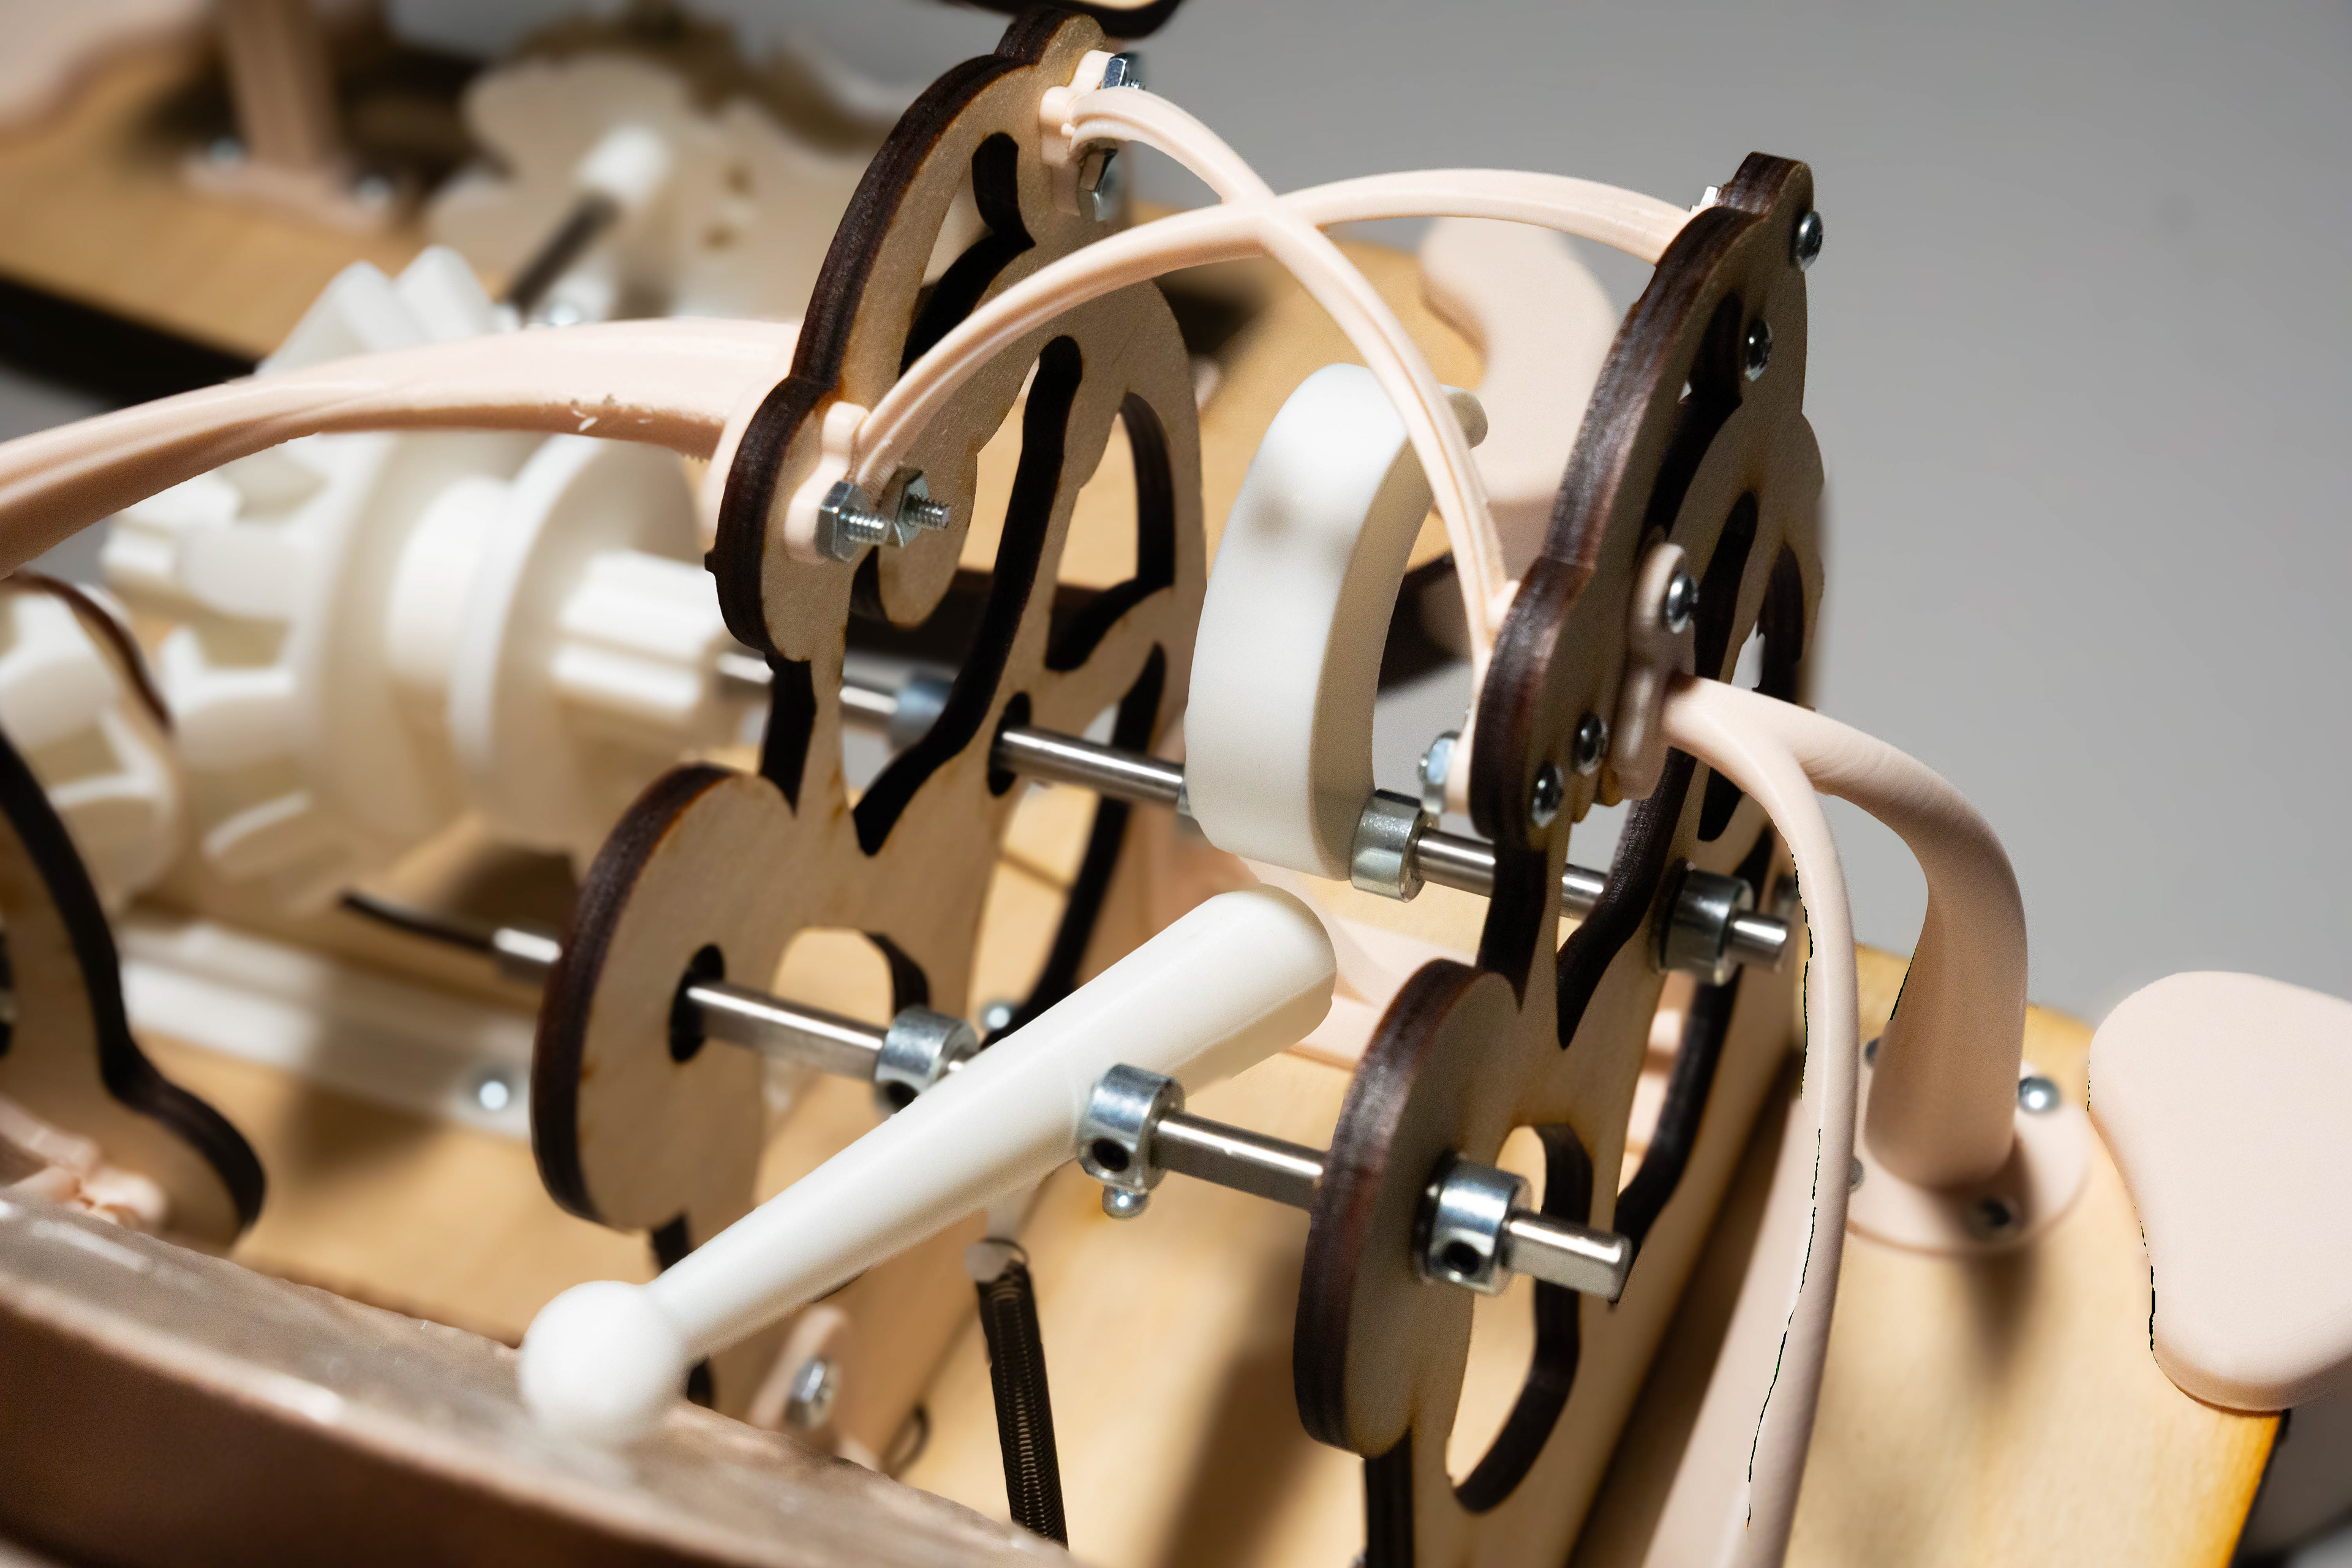
We implemented all of these changes into a functioning prototype:
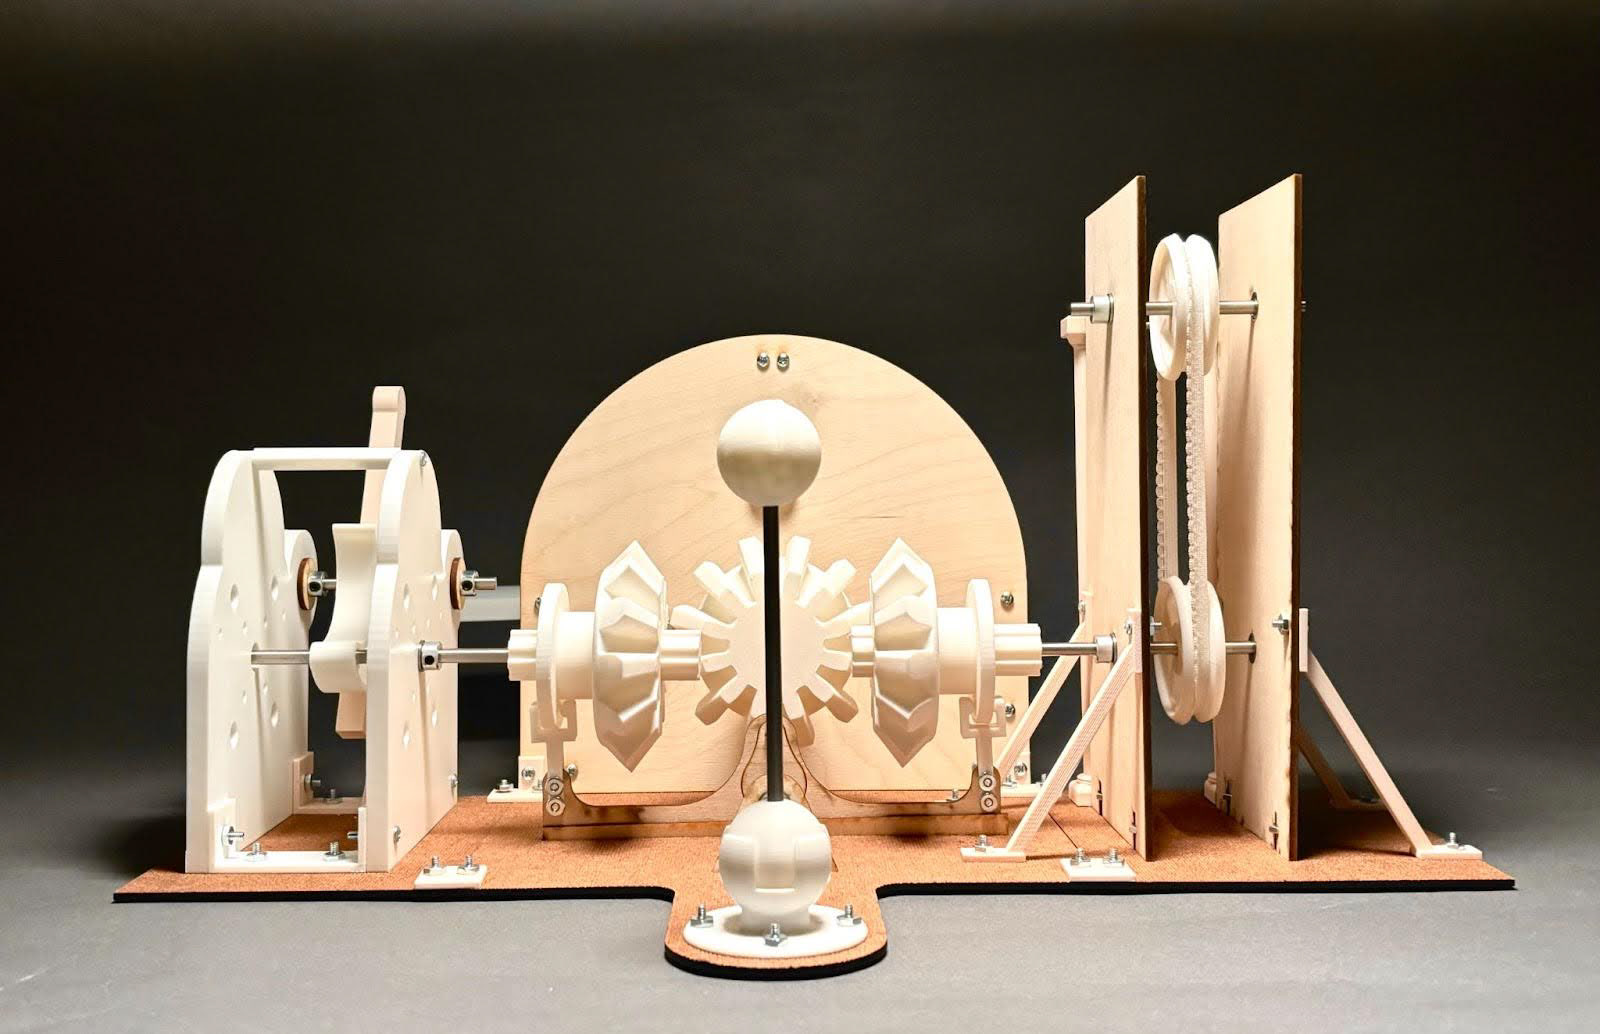
Functioning prototype
Key takeaway from the functioning prototype:
Our supports were inadequate, allowing for slight movement of the frames, which misaligned the bearings, causing unnecessary friction and frequent seizing of the mechanism.
Final Prototype
To create the final frame and support design, I drew inspiration from the Catalán architect, Antoni Gaudí. His use of organic forms resembling shapes found in nature and whimsical use of shape as storytelling aligned with our vision of the door knocker as a reflection of human decision making and communication. The skeletal shapes of the frame and supports serve to infuse the mechanism with a visceral sense of the organic world, bringing a sense of life to the user experience.
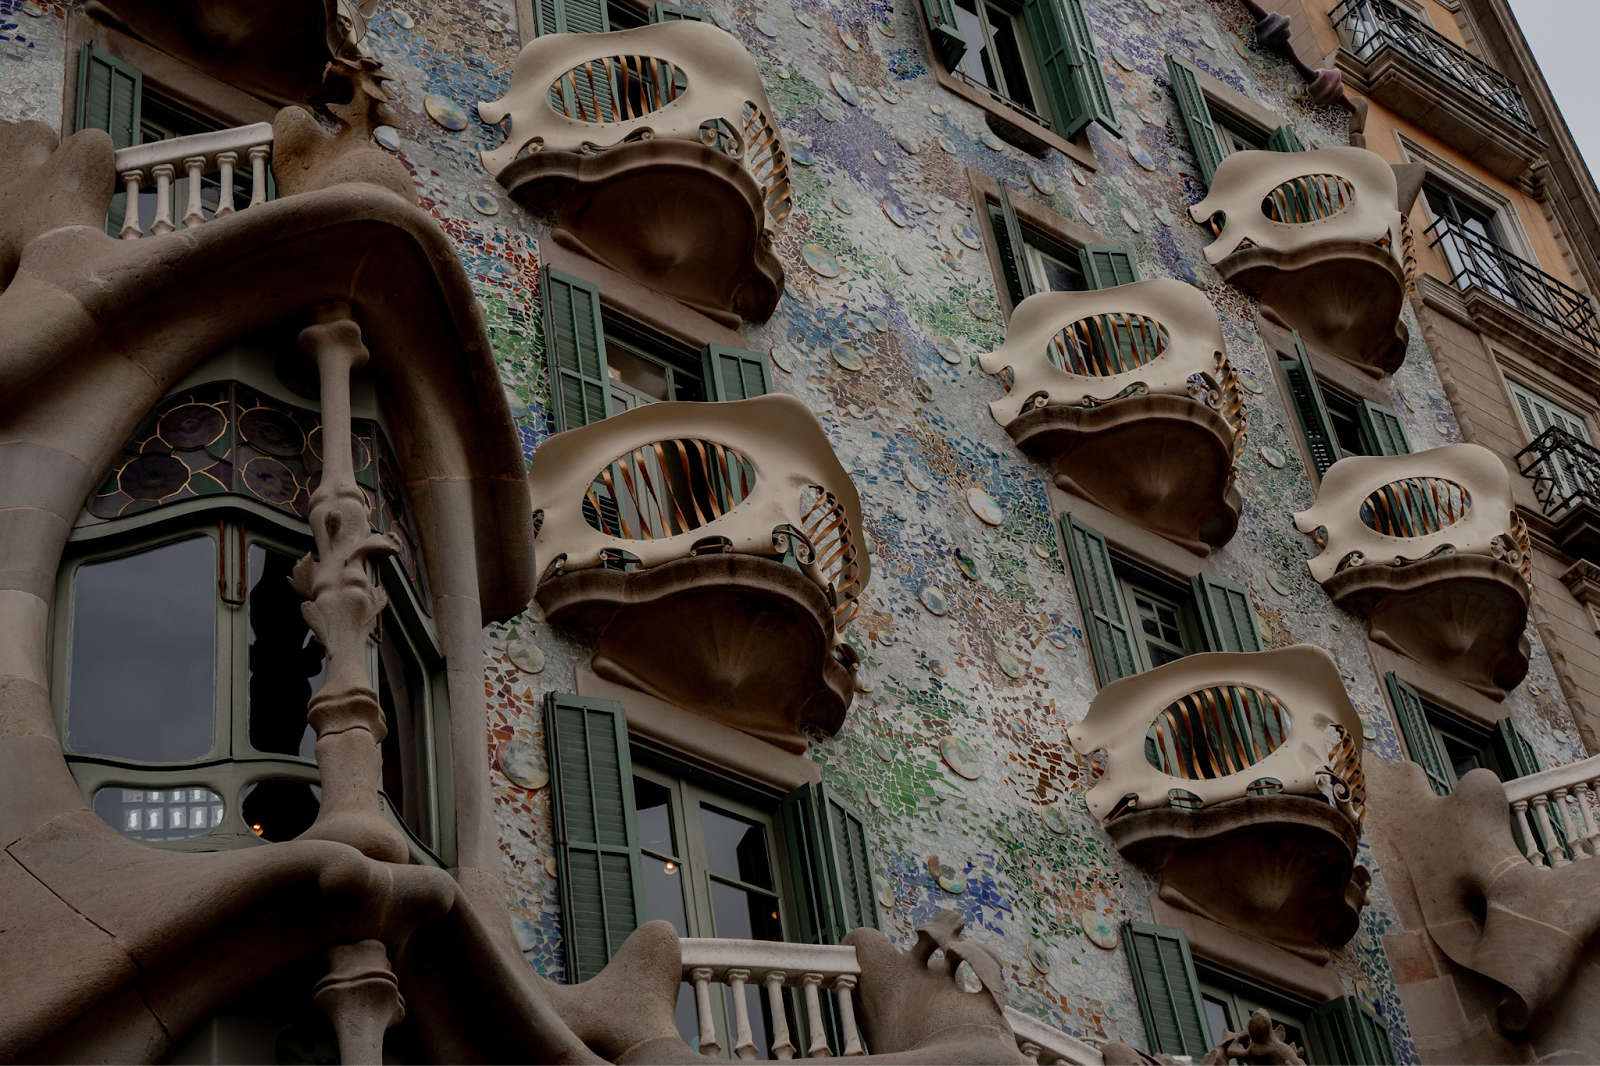
The facade of Gaudí's “Casa Batlló”, which features abstract bone-like structures.
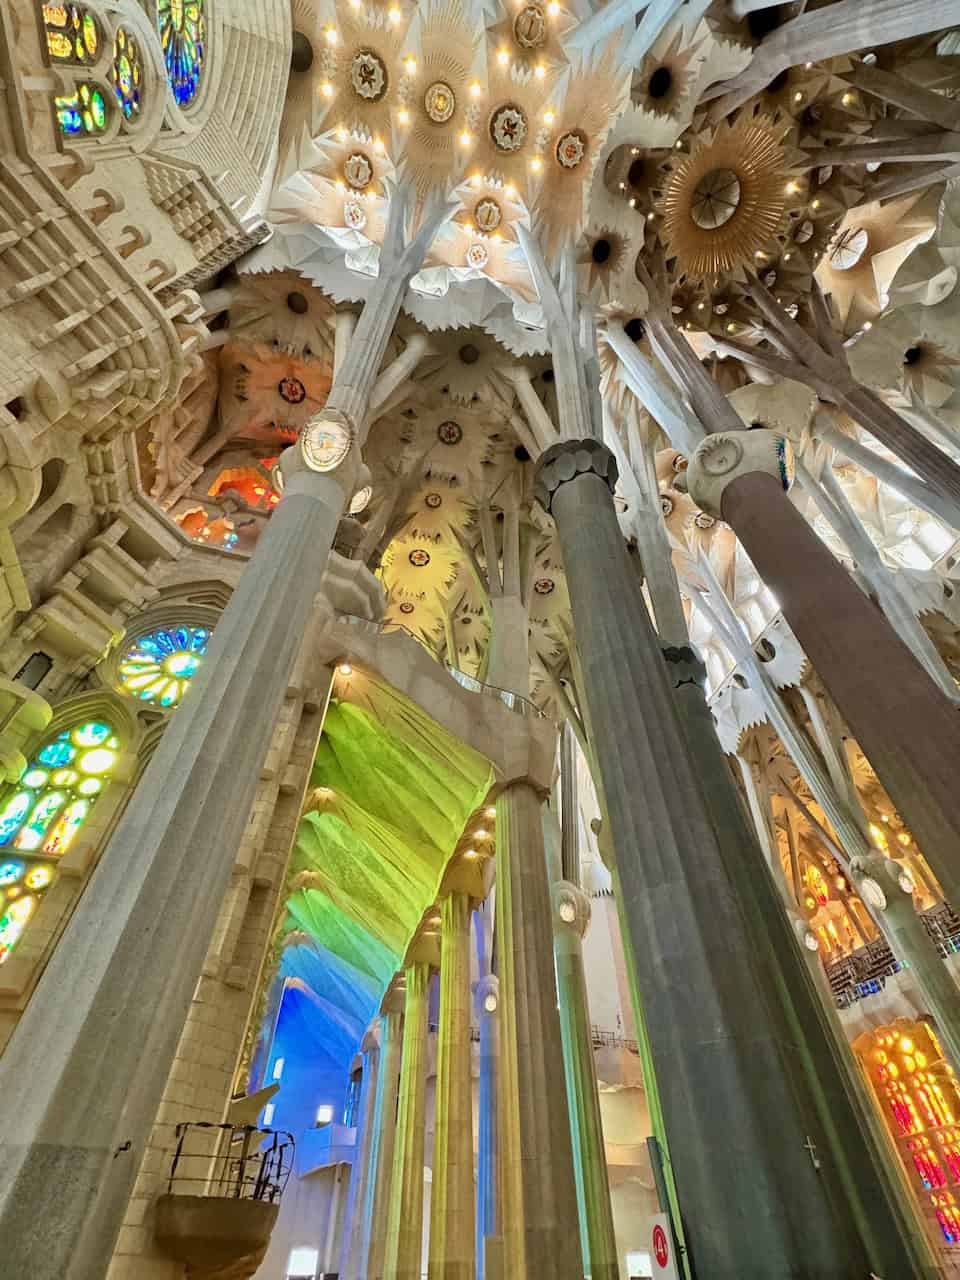
The interior of La Sagrada Família, featuring its tree-like supports.
Also, I performed Finite Element Analysis (FEA) in CAD to pinpoint areas of inefficiency:
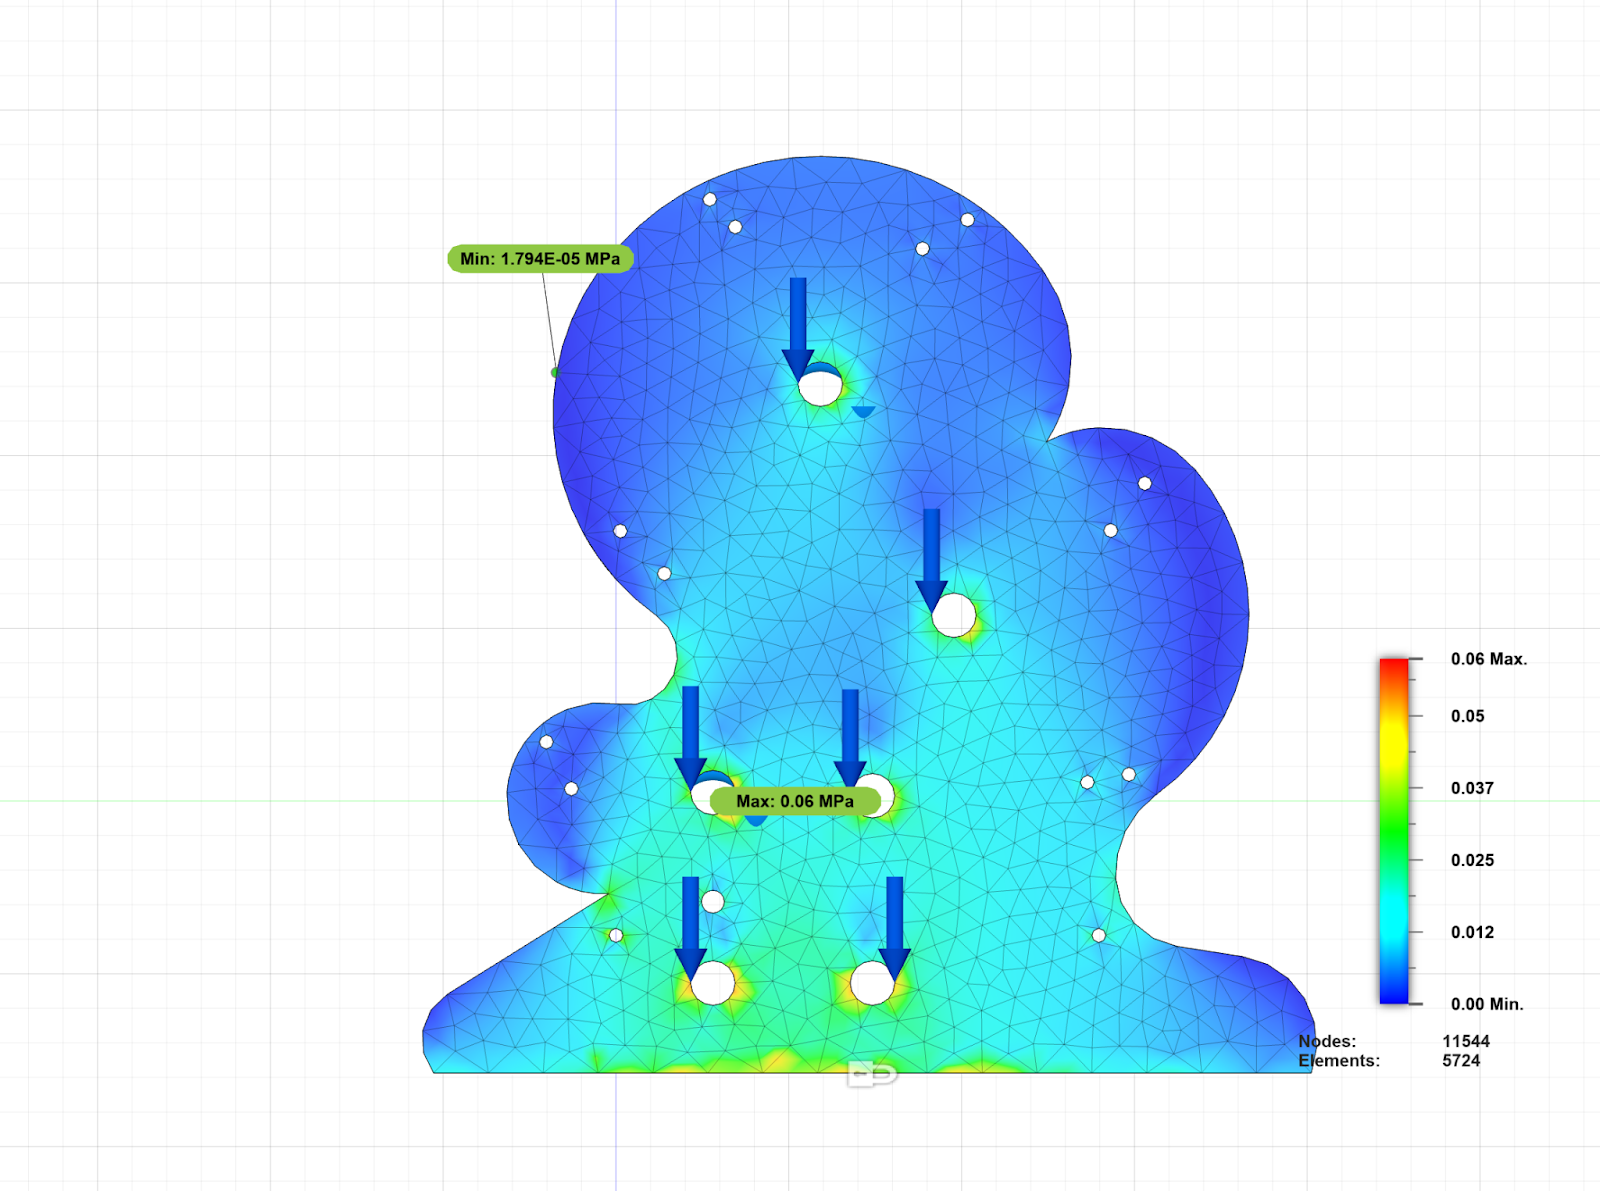
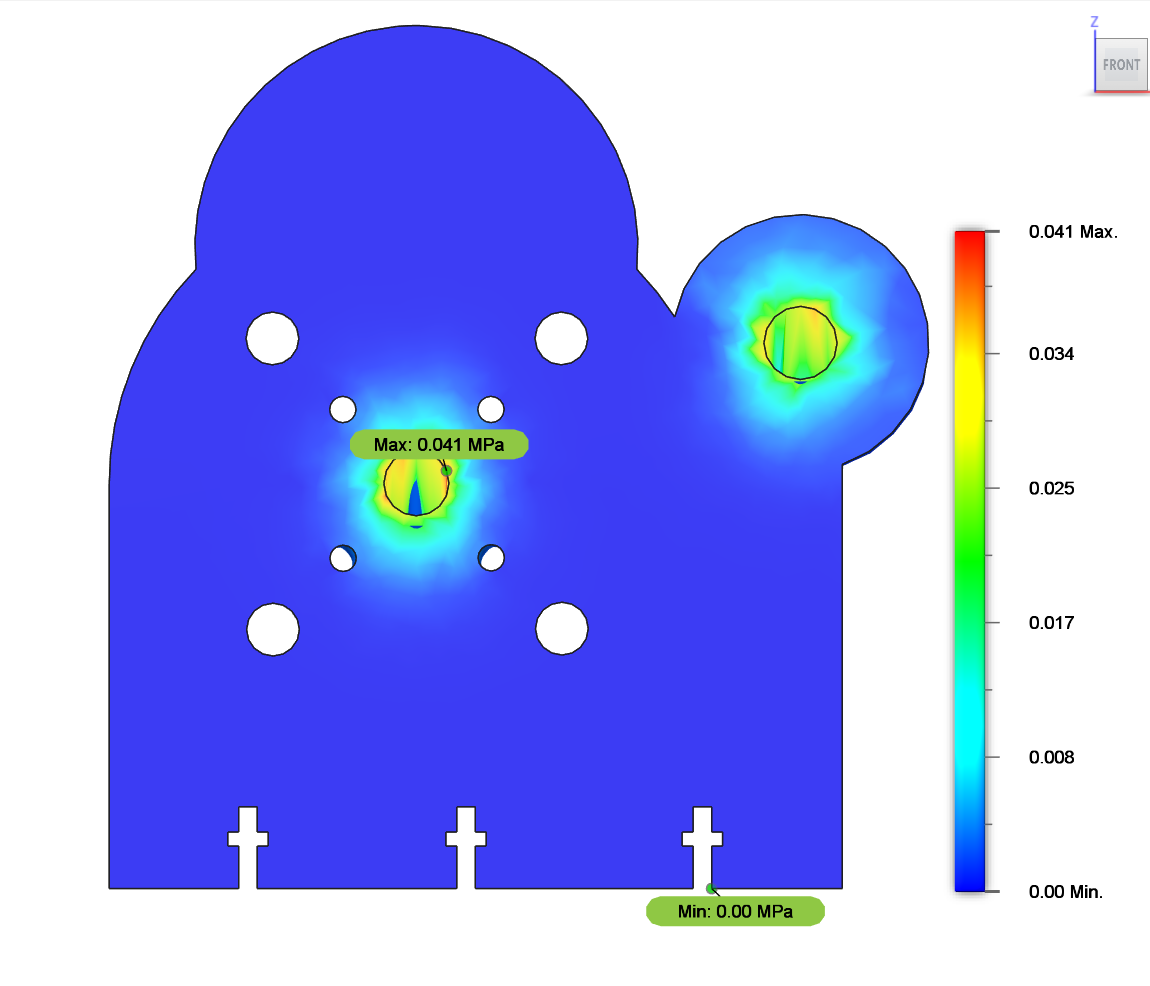
Initial FEA of the frame.
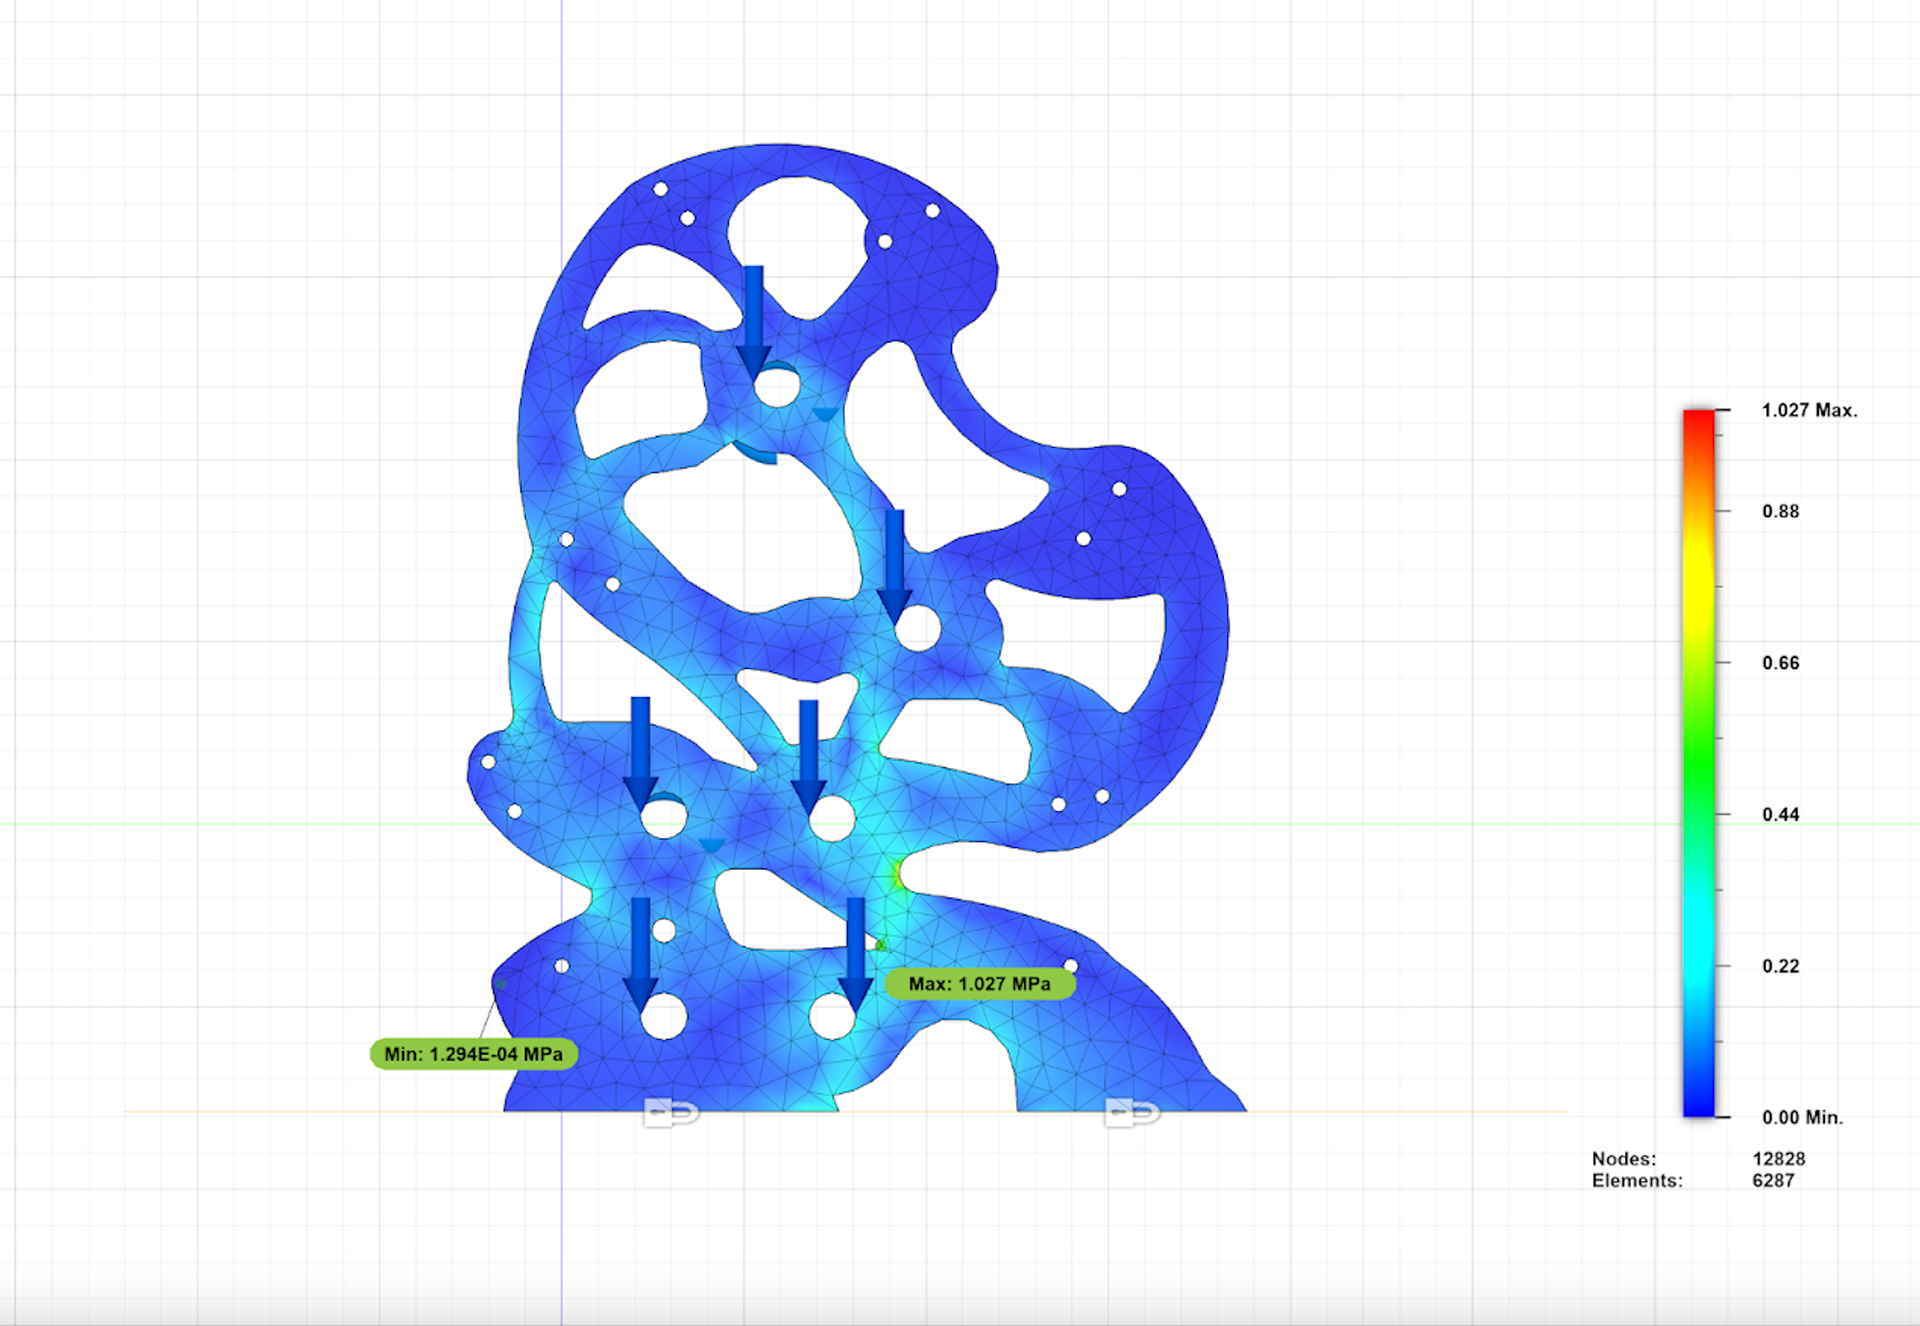
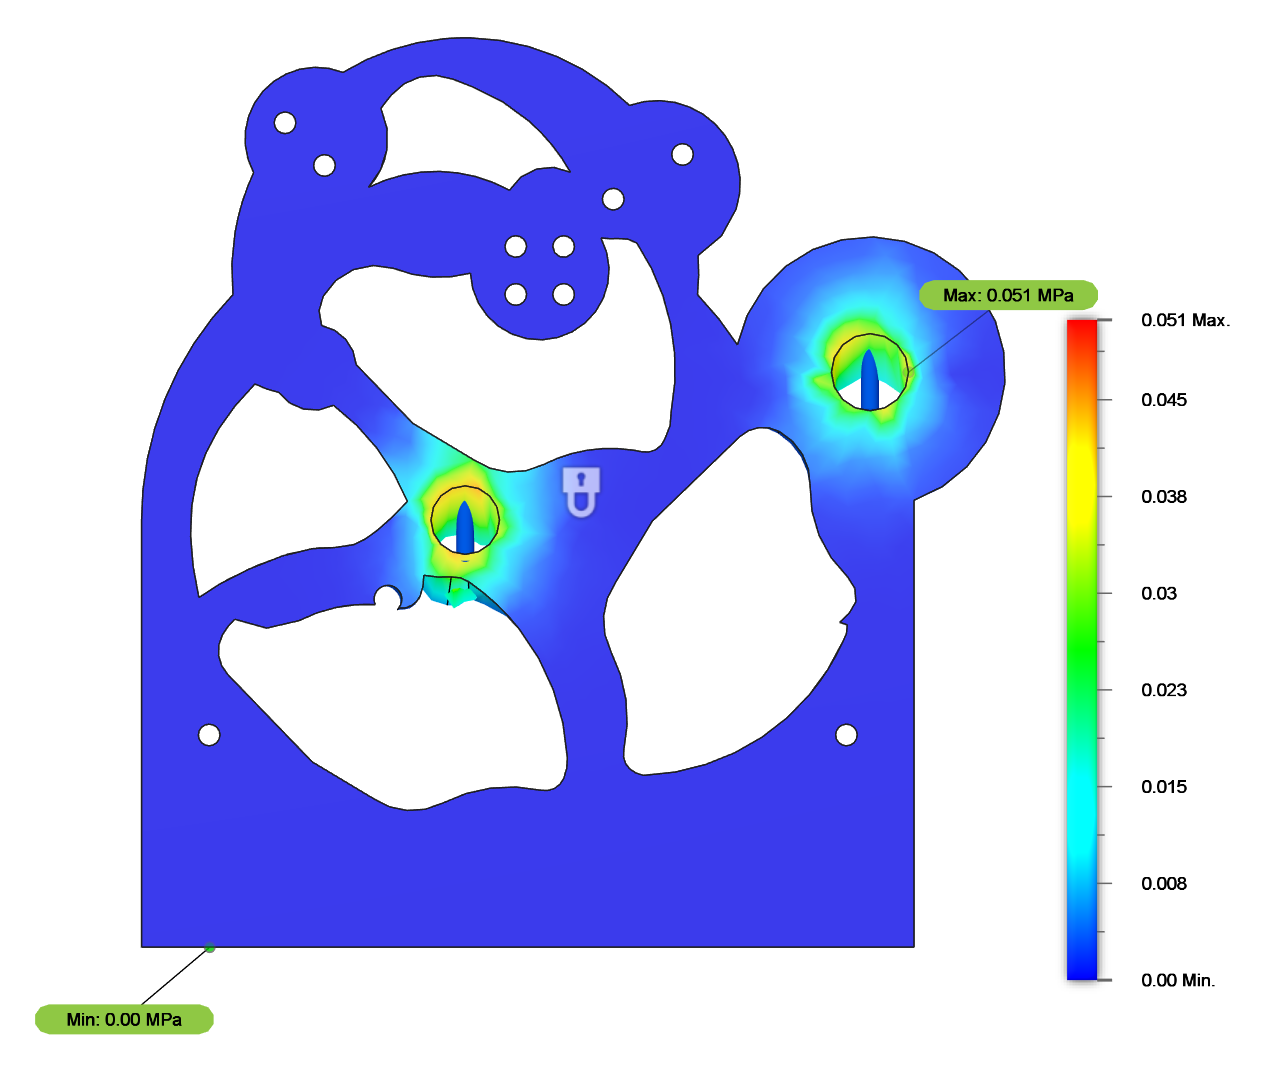
FEA of the same parts, after material removal.
Implementing these new design changes led us to our final prototype:
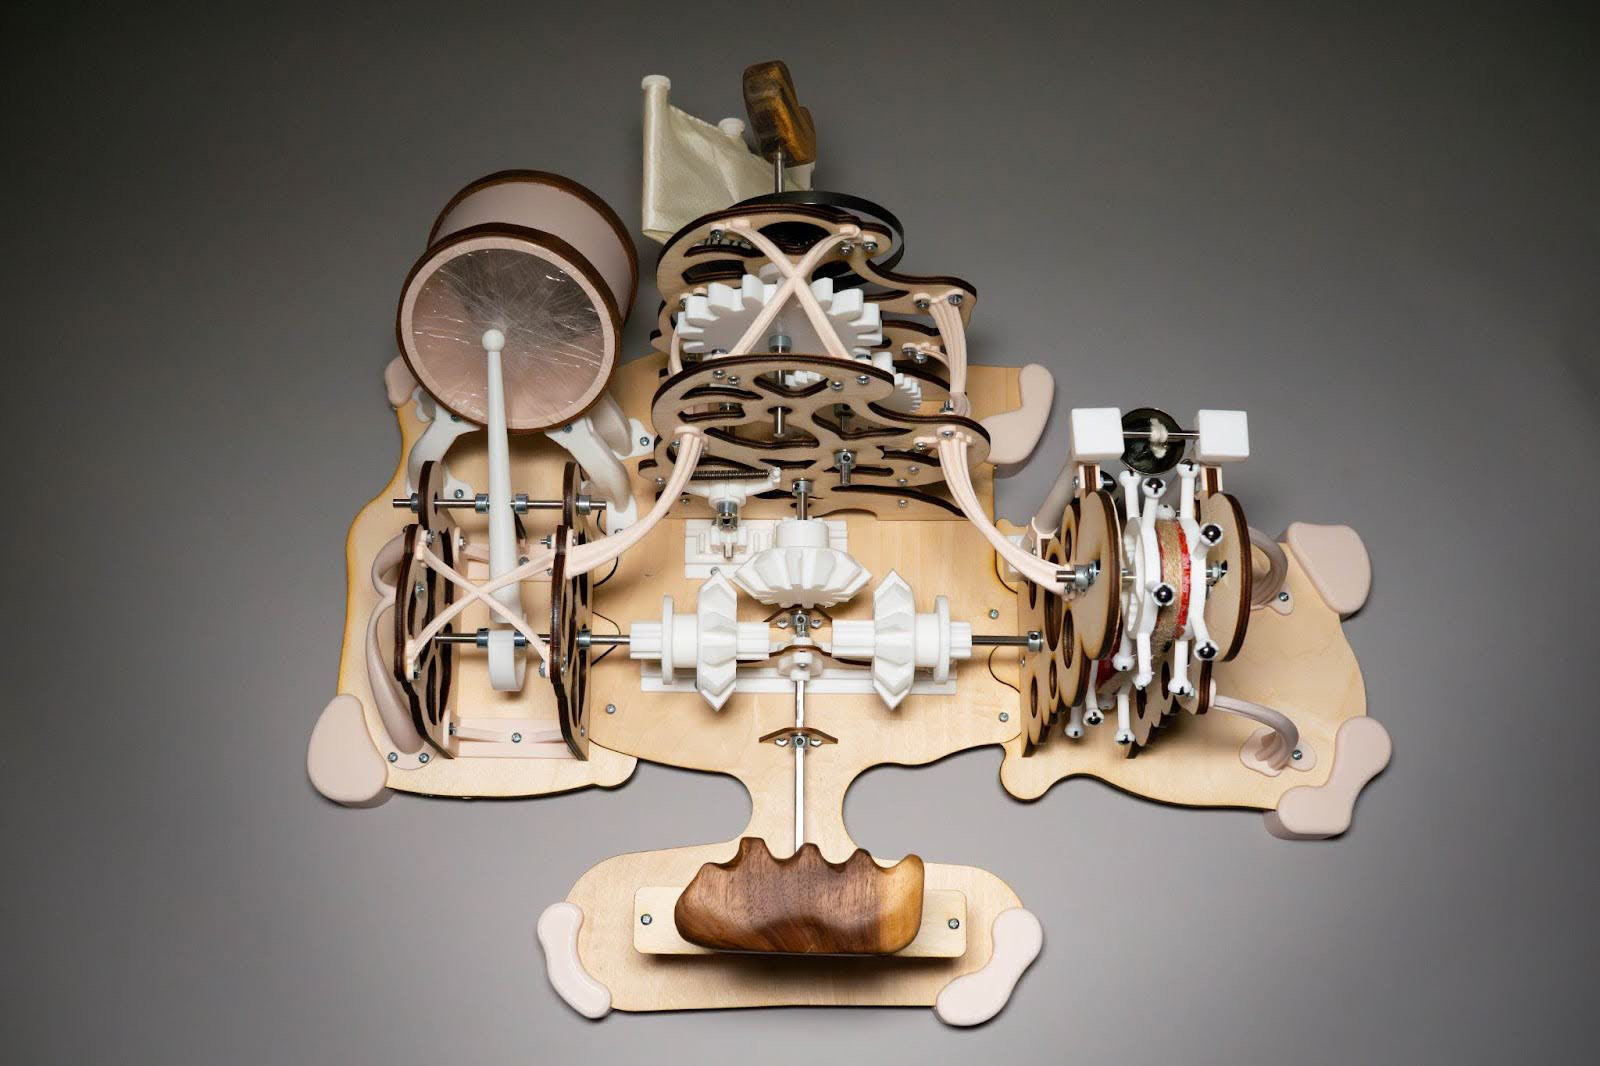
Top View
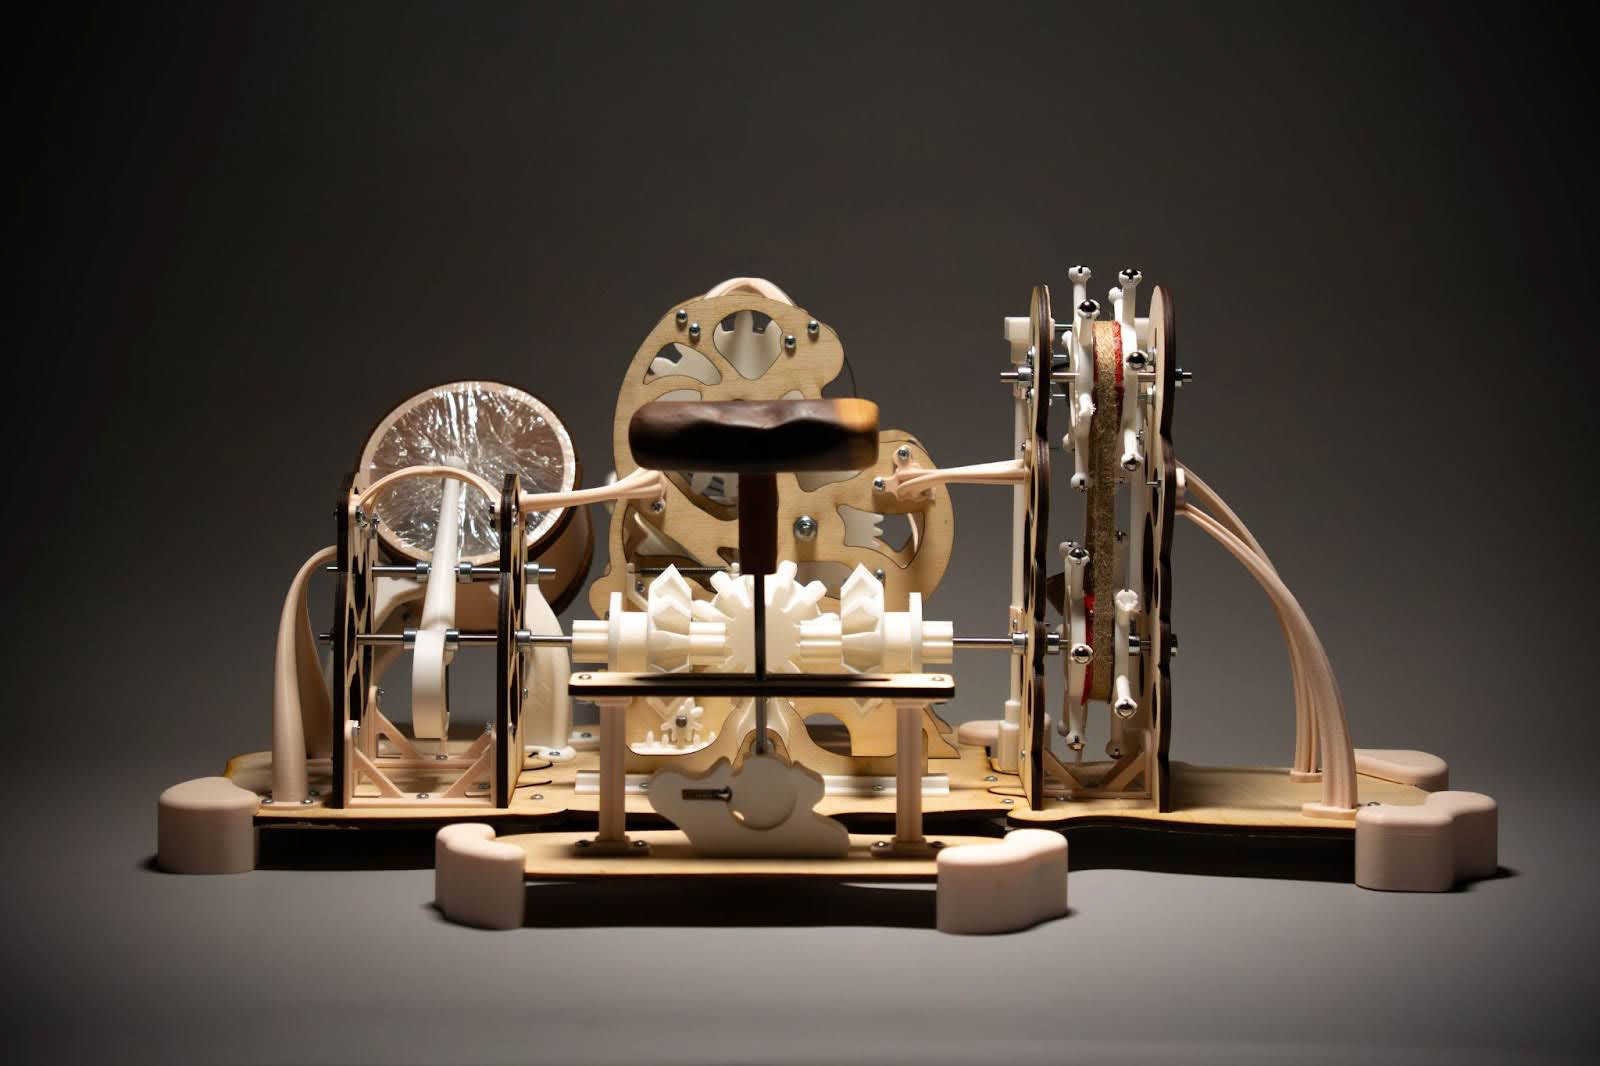
Front View
Individual components:
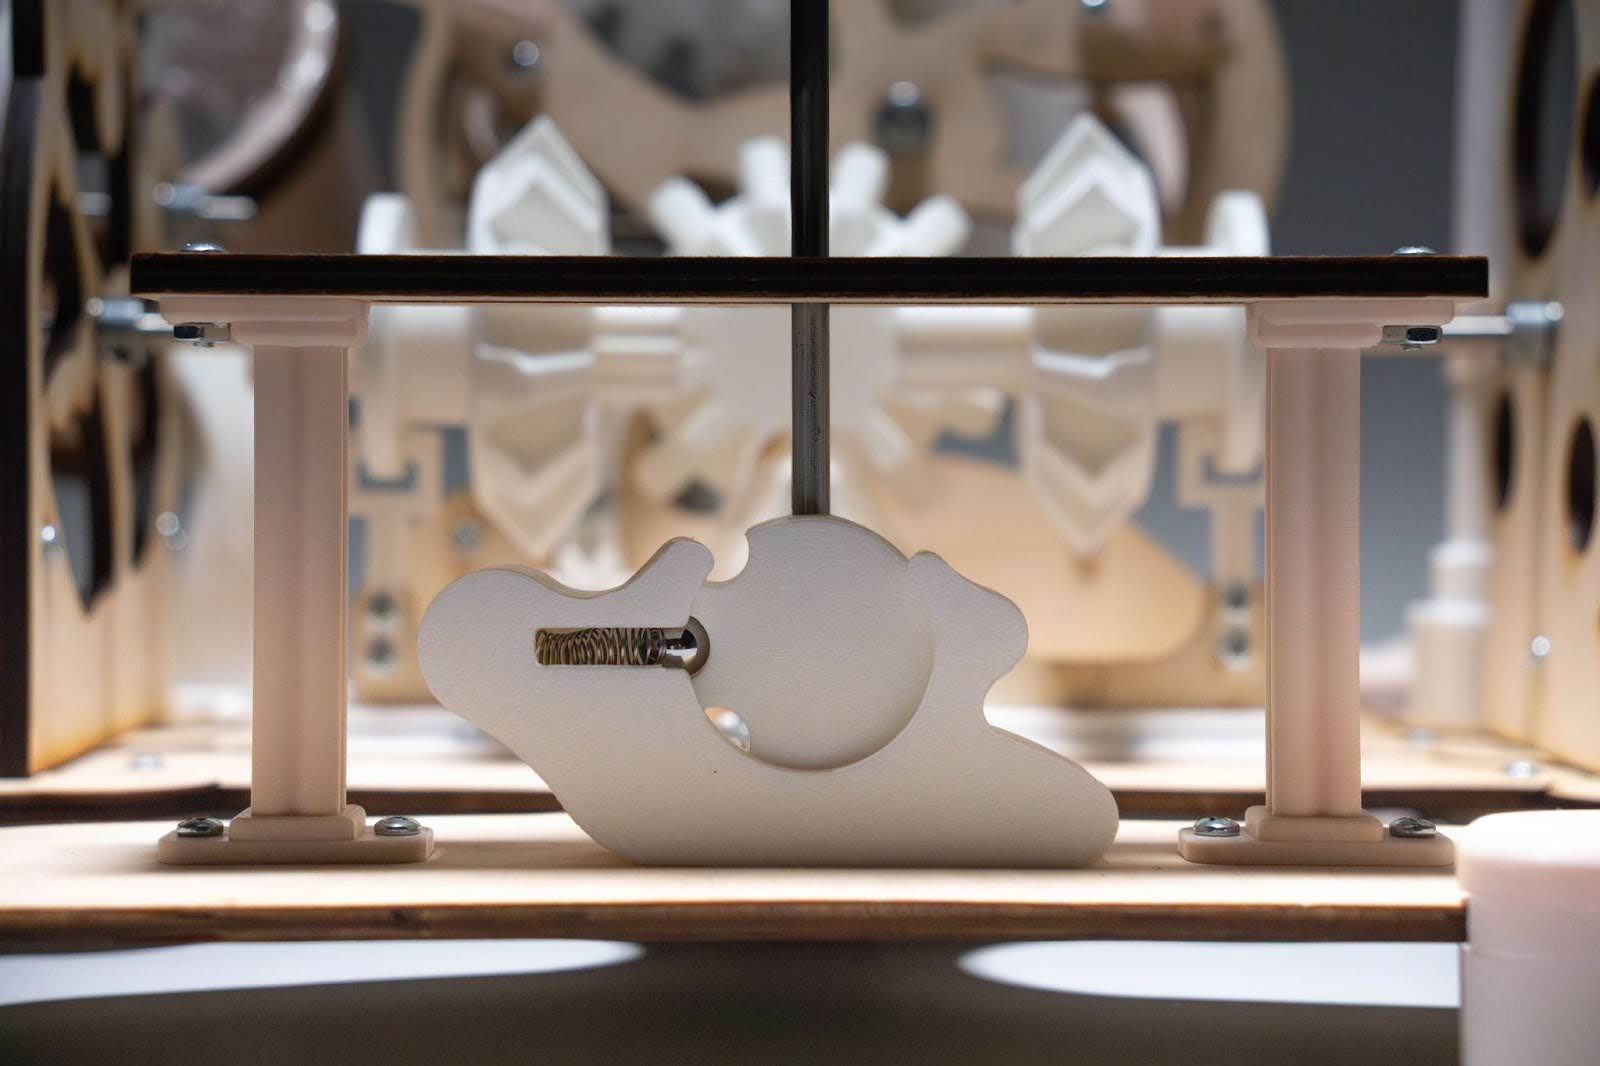
Ball Detent Indexing

Spiral Torsion Spring Power Supply
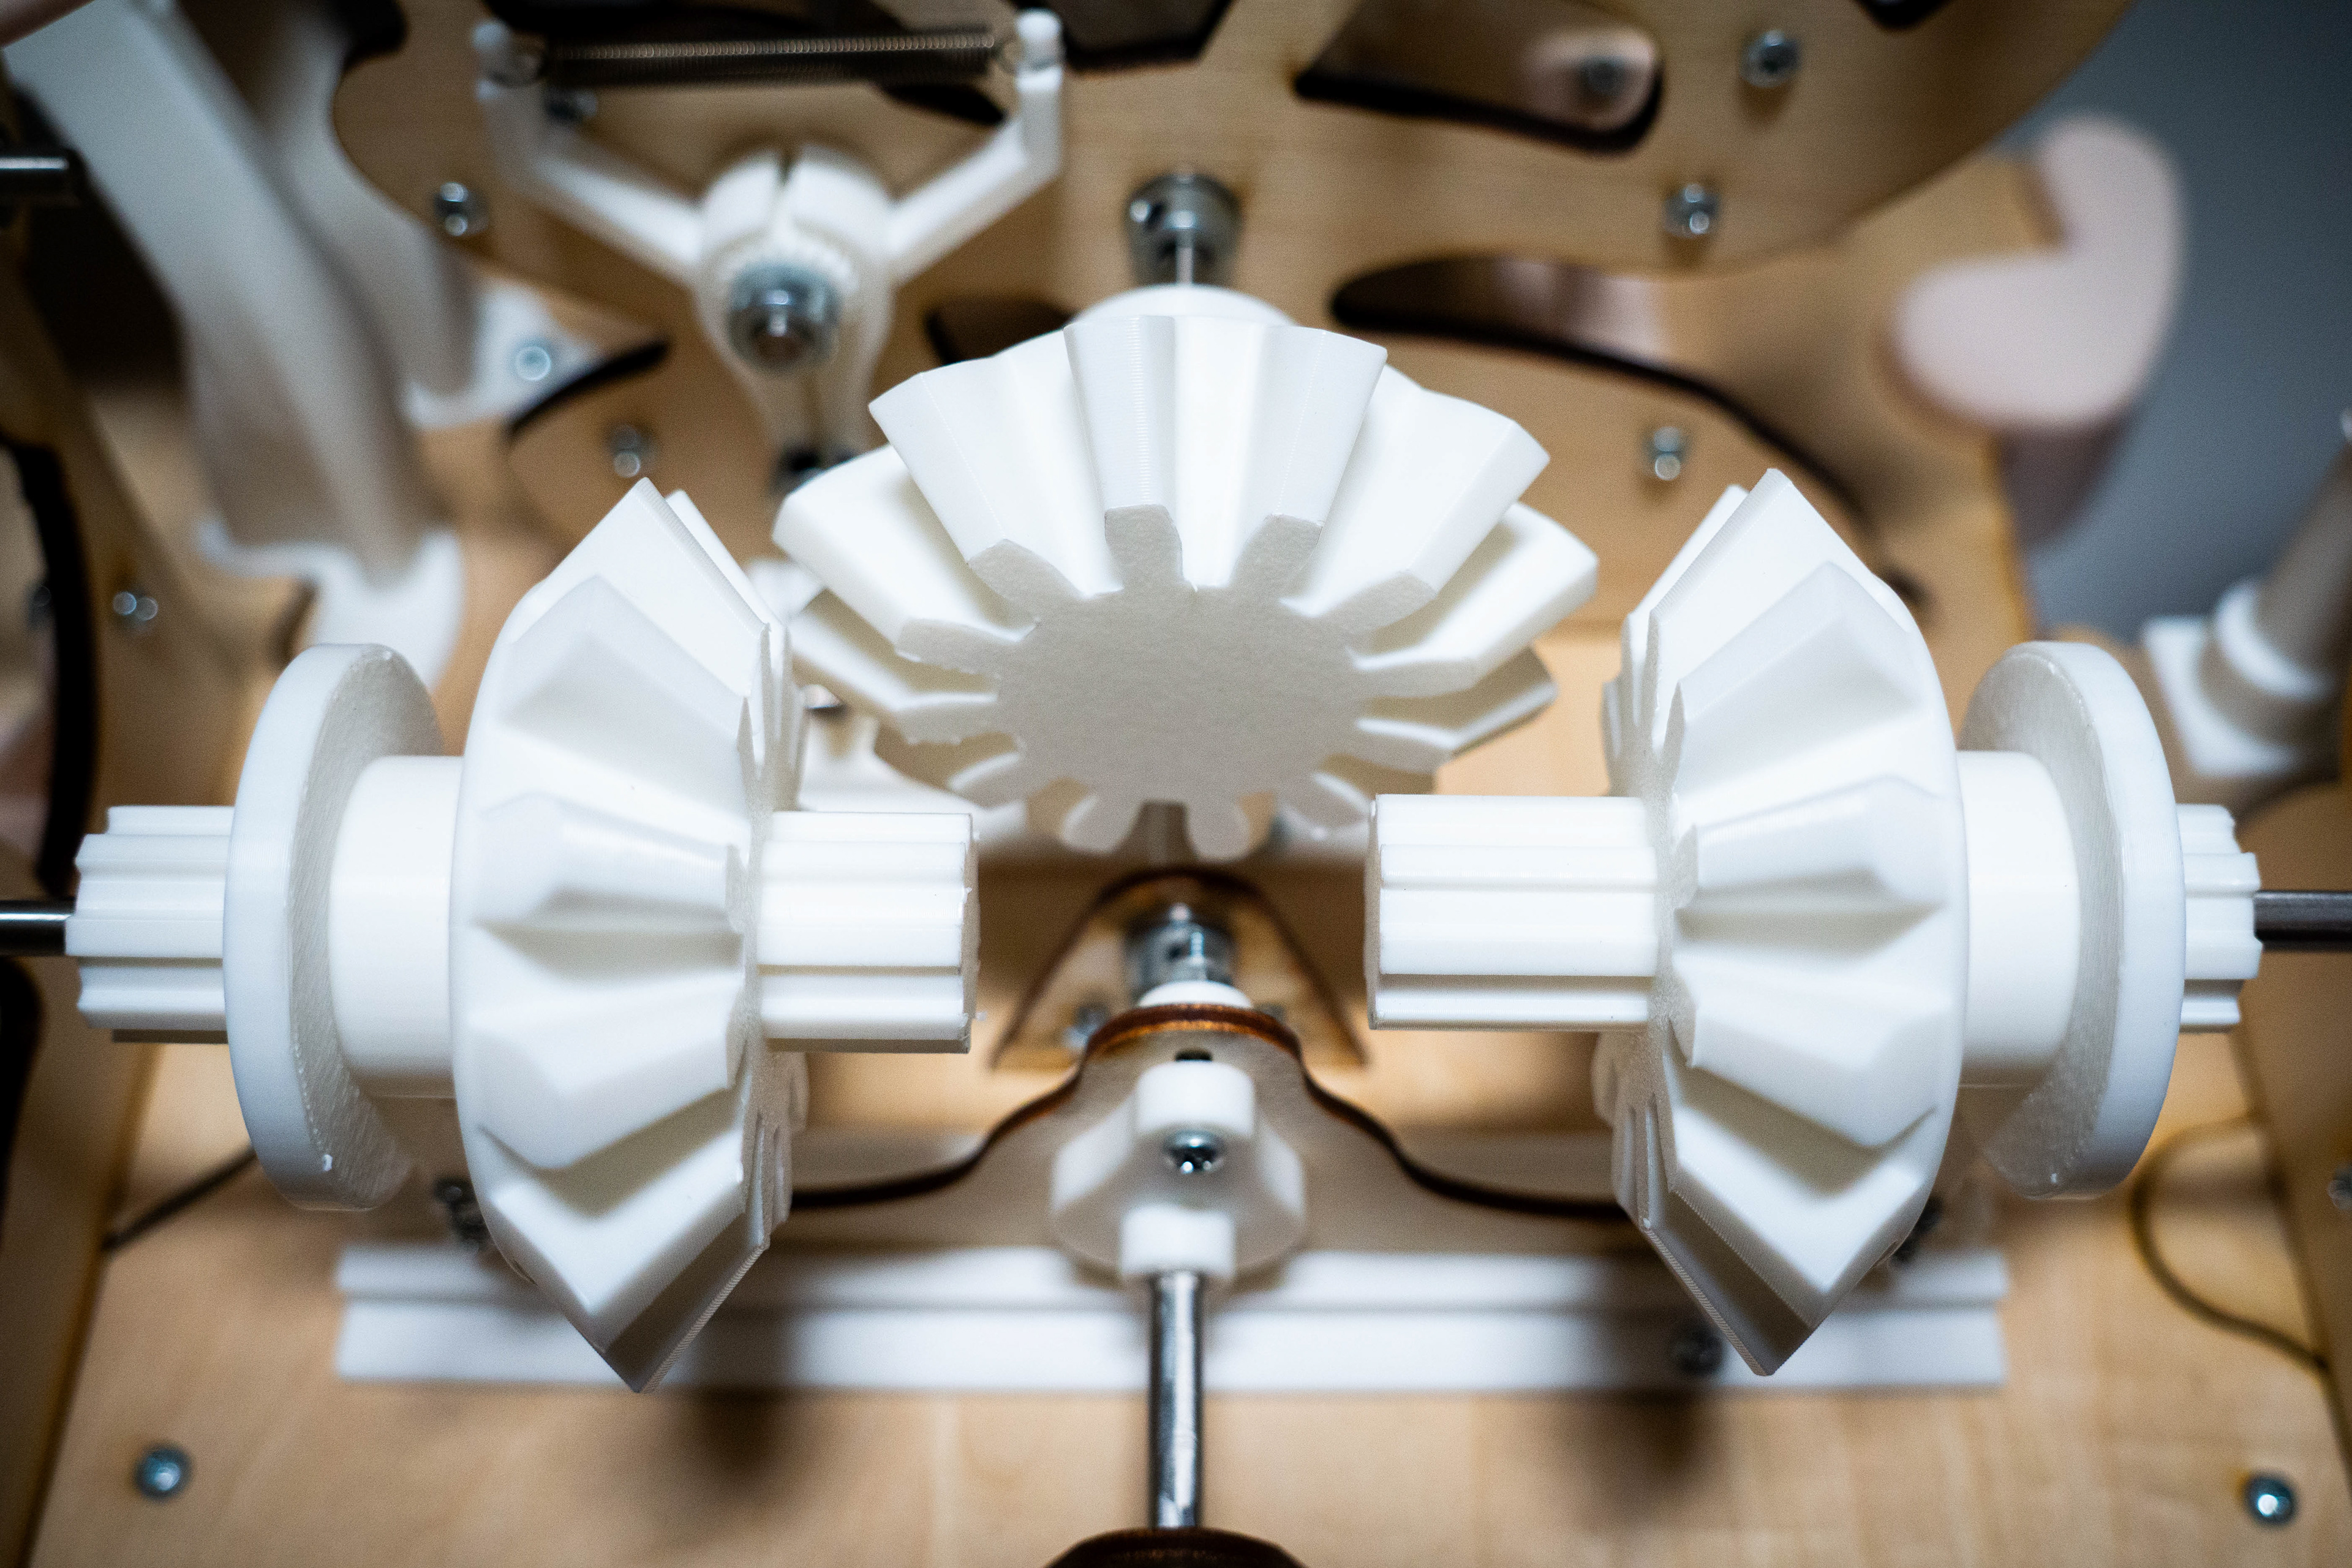
Bevel Gear Selection Mechanism
Actuation Mechanism

Bell Striking Mechanism
Cam and Follower Drum Beater

3D Printed Drum
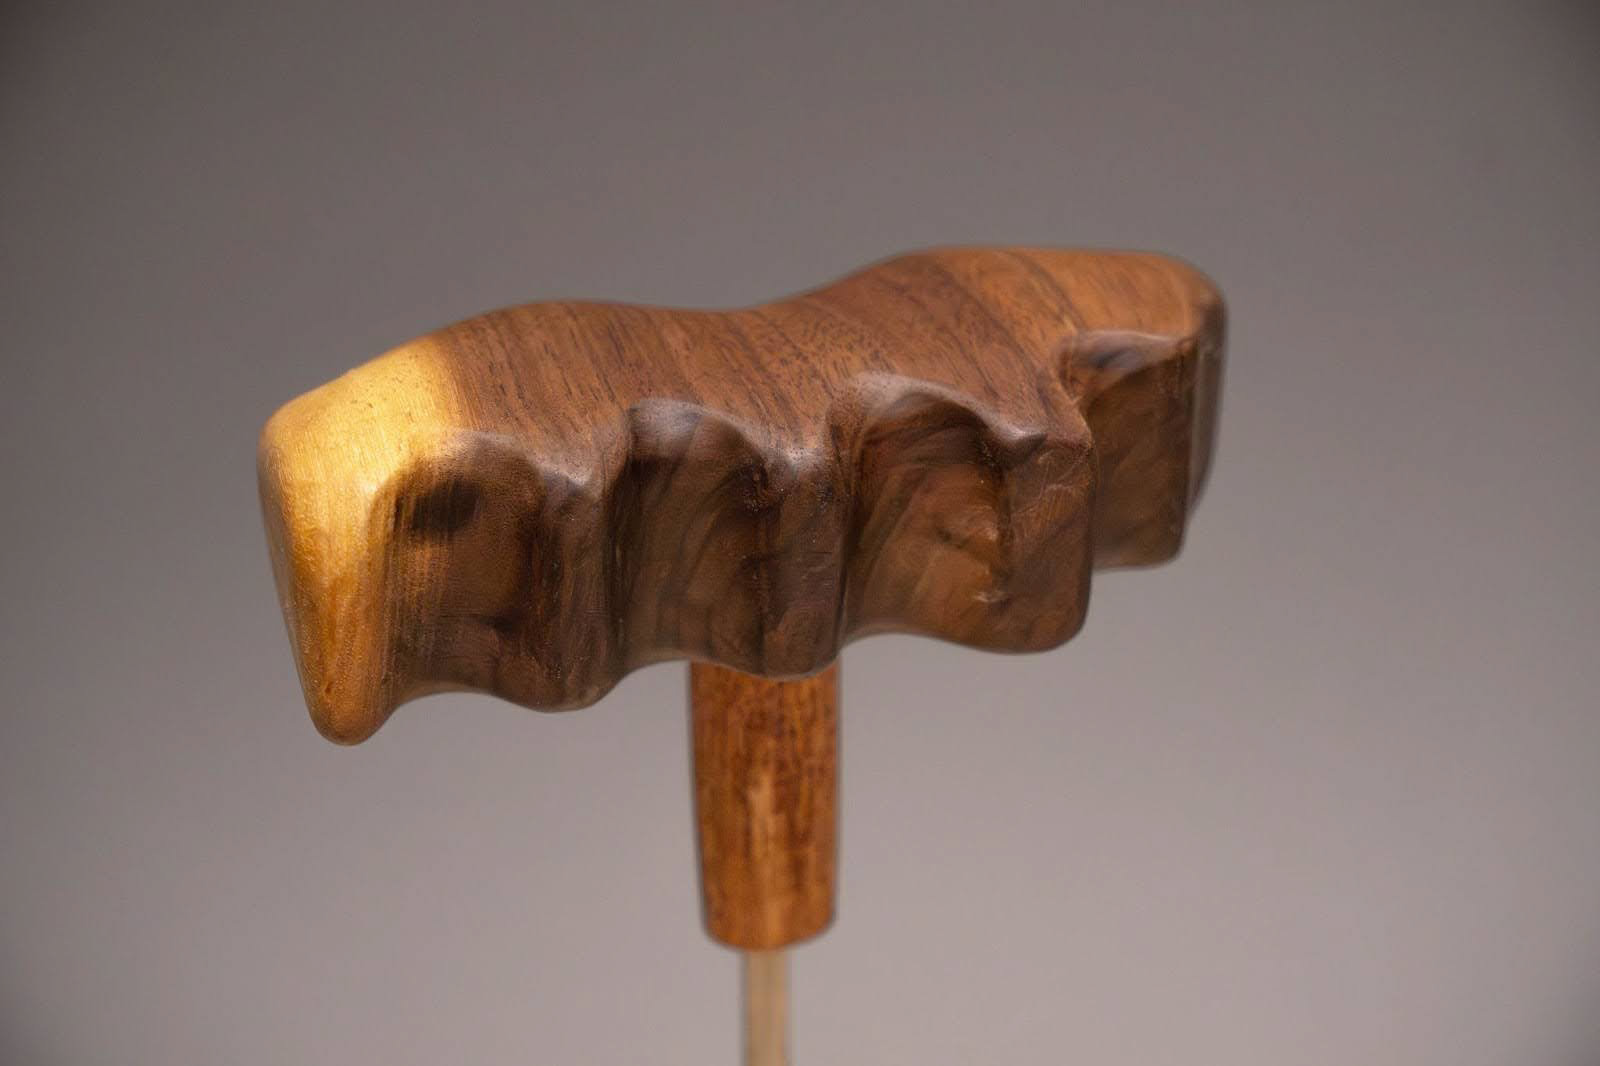
Organically-shaped Touchpoint
Click the video to see it in action!
Reflection
I really enjoyed being able to work with a team on this project from start to finish! My favorite part was trying to come up with a way to change the core purpose of a door knocker. I had never used the MEDGI process before, so it was interesting to see how far we came from the original idea.
What I learned from the project:
1. It's more impactful to design by thinking of the project's core purpose, first. Initially, I tried to come up with ideas in order to meet the requirement of having two distinct transformations of motion, but this often led to meaningless design choices.
2. Prototype as early and as quickly as possible. We made a lot of changes to our design in later steps that we likely could have caught if we had made more prototypes. Also, spending less time making the prototype look good, and more time focusing on what question we were trying to solve with the prototype, would have helped us come up with a better result in less time.
Going forward, I hope to be able to think deeper about my project's core purpose, and use that to inform my design choices.